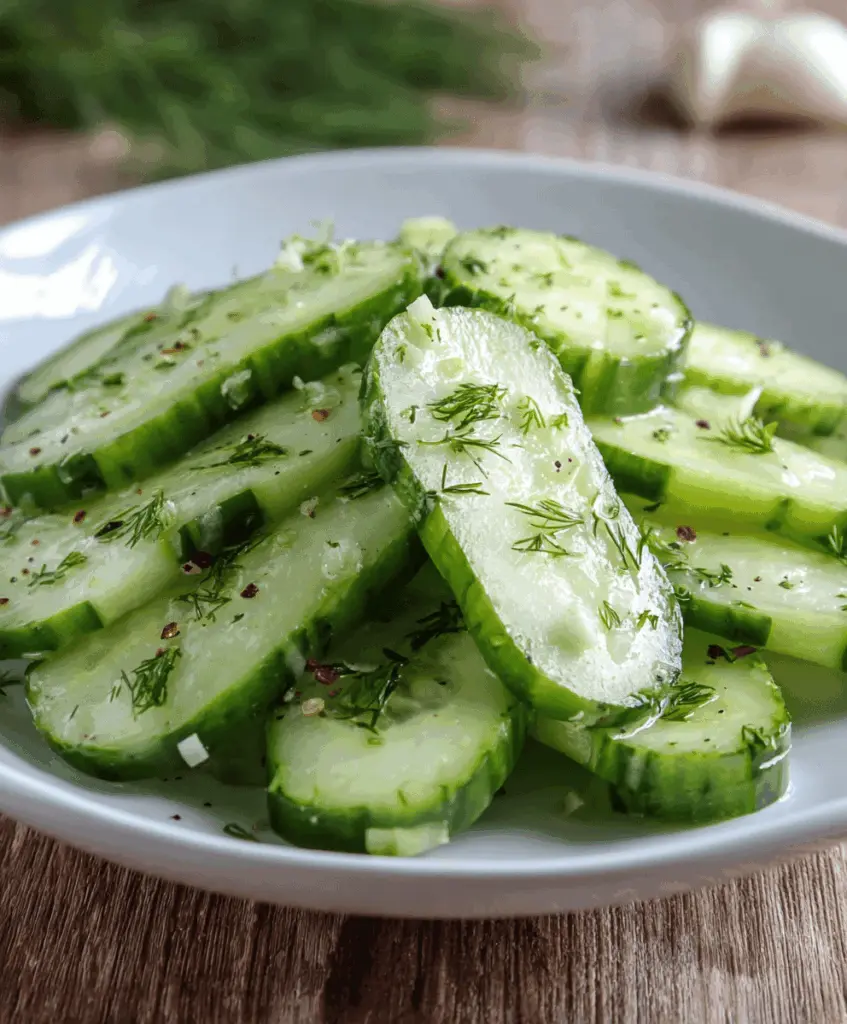
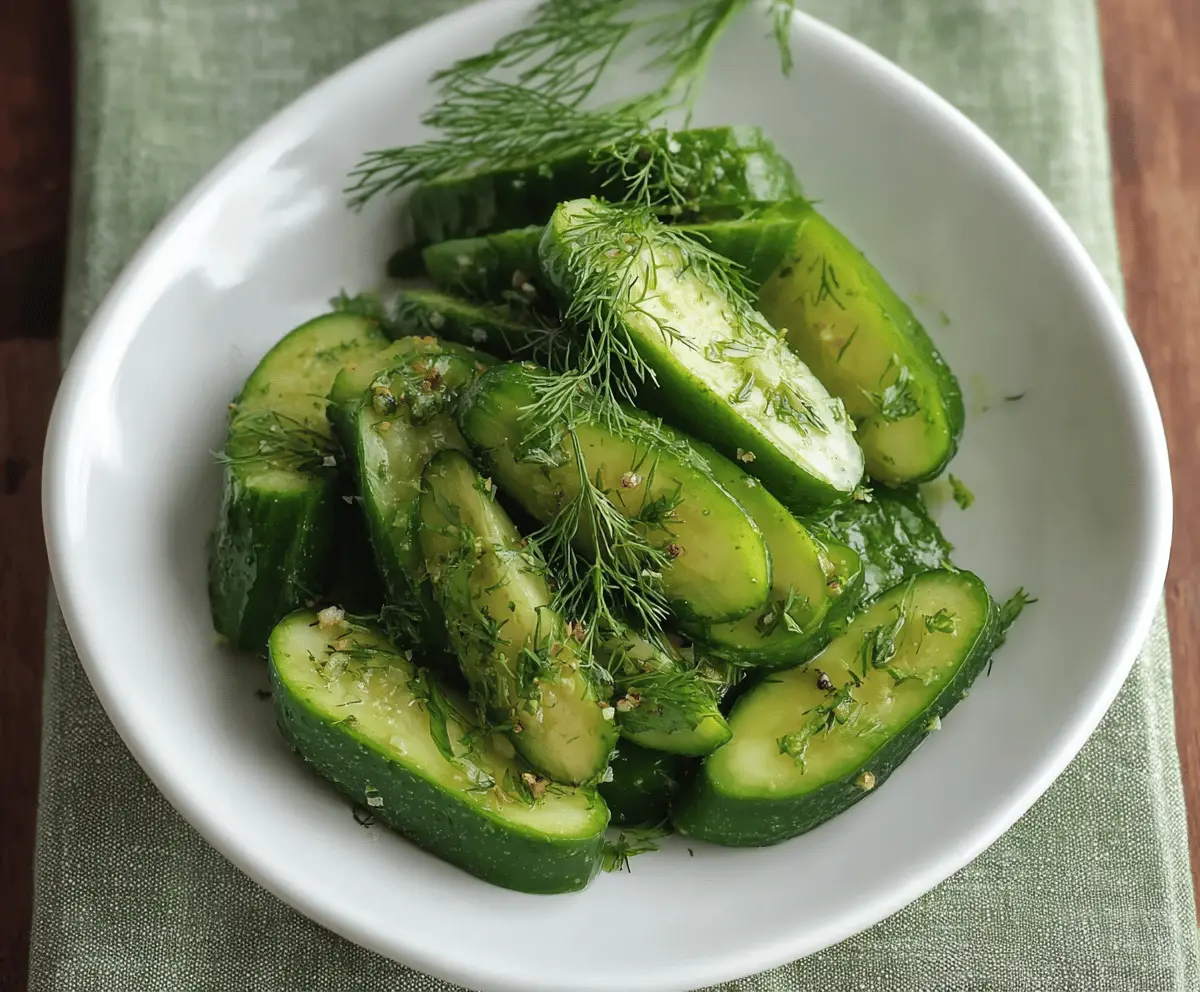
This easy garlic dill pickle recipe is a perfect way to enjoy crunchy cucumbers. With fresh garlic and dill, they pack a flavorful punch without much fuss!
These pickles are great for snacking or adding to sandwiches. I love them with a sandwich—just don’t blame me if you can’t stop at just one! 😄
Making these pickles is super simple. You just mix the ingredients, let them sit—and before you know it, you’re crunching on tasty homemade pickles!
Key Ingredients & Substitutions
Cucumbers: Kirby cucumbers are ideal because they are crunchier and better for pickling. If they’re not available, you can use small Persian or English cucumbers. Avoid large, watery ones as they won’t hold up as well!
Garlic: Fresh garlic cloves add a strong flavor. If you need a quicker option, garlic powder can work too, but you’ll miss that punchy aroma. I always prefer the fresh stuff!
Vinegar: Distilled white vinegar gives a clean, sharp taste. You can substitute apple cider vinegar for a milder flavor, or rice vinegar for a sweeter pick if you prefer.
Dill: Fresh dill enhances the flavor significantly, but if it’s hard to find, dried dill works just fine. Use about 1/3 of the amount since dried herbs are stronger.
Spices: Black peppercorns and red pepper flakes can be omitted if you don’t like heat. Feel free to get creative with spices—mustard seeds or coriander seeds are also nice additions!
How Do I Get My Pickles Crunchy and Flavorful?
Crunchy pickles come down to a few important tips. First, use fresh, firm cucumbers as mentioned. Second, it’s crucial to have your brine properly balanced with salt and sugar—too much or too little can alter the texture.
- Make sure your cucumbers are fully submerged in the brine for even flavoring.
- Allow them to ferment at room temperature before refrigerating. This step is key for building flavor!
- Store in the fridge in an airtight container and consume within a couple of weeks for best crunch and taste.
With these tips and insights, you’ll be on your way to making delicious homemade garlic dill pickles that you can enjoy any time. Happy pickling!
Easy Garlic Dill Pickle Cucumbers
Ingredients You’ll Need:
- 3 to 4 medium cucumbers (Kirby cucumbers work best)
- 4 cloves garlic, peeled and smashed
- 1 cup distilled white vinegar
- 1 cup water
- 1 tablespoon kosher salt (or pickling salt)
- 1 tablespoon granulated sugar
- 1 tablespoon fresh dill weed (or 2 teaspoons dried dill)
- 1 teaspoon black peppercorns (optional)
- 1/2 teaspoon red pepper flakes (optional, for a bit of heat)
How Much Time Will You Need?
This recipe takes about 15 minutes of prep time, plus 1 to 2 days to allow the pickles to ferment slightly at room temperature and 2 to 3 days in the refrigerator to develop flavor. In total, you’re looking at around 3 to 5 days, but it’s well worth the wait for tasty, crunchy pickles!
Step-by-Step Instructions:
1. Prepare the Cucumbers:
Start by washing your cucumbers thoroughly to remove any dirt or residue. You want them nice and clean! Next, slice them into your preferred shape—spears or rounds both work well. Choose whichever you like best for snacking or adding to dishes!
2. Combine the Flavor Base:
In a clean jar or container of your choice, place the smashed garlic cloves and fresh dill weed at the bottom. This will infuse the pickles with lots of delicious flavor!
3. Add the Cucumbers:
Gently add the sliced cucumbers on top of the garlic and dill in the jar, packing them in snugly so they’re nice and secure.
4. Make the Brine:
In a small saucepan, combine the distilled white vinegar, water, kosher salt, and sugar. Heat the mixture over medium heat, stirring gently until the salt and sugar dissolve completely. Once dissolved, remove the saucepan from the heat and let it cool slightly. We don’t want to pour hot liquid on the cucumbers!
5. Pour the Brine:
Carefully pour the cooled brine over the cucumbers in the jar. Make sure all the cucumbers are fully submerged. If they float, you can use a clean weight or another heavy jar to keep them down in the brine.
6. Add Optional Flavor:
If you’d like a kick of spice, throw in the black peppercorns and red pepper flakes before sealing the jar. This step is optional, so feel free to skip it if you prefer mild pickles!
7. Let Them Ferment:
Cover the jar loosely with a lid to allow gases to escape during fermentation. Leave the jar at room temperature for about 1 to 2 days. This allows time for the flavors to develop, making for tastier pickles!
8. Chill and Enjoy:
Once fermented, transfer the pickles to the refrigerator. They’ll be ready to enjoy after 2 to 3 days in the fridge. They’ll stay crunchy and flavor-packed for up to 2 weeks!
9. Storing Your Pickles:
Always store them in the fridge. Enjoy your homemade garlic dill pickles on their own, with sandwiches, or as a crunchy snack!
Enjoy your easy homemade garlic dill pickles!

FAQ About Easy Garlic Dill Pickle Cucumbers
Can I Use Different Types of Cucumbers?
Absolutely! While Kirby cucumbers are best for pickling due to their firmness, you can also use Persian or small English cucumbers. Just avoid larger, watery cucumbers as they may not maintain the crunch.
Can I Adjust the Spice Level?
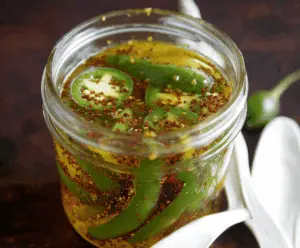
Yes! If you prefer milder pickles, simply skip the red pepper flakes or reduce the amount of black peppercorns. If you like more heat, feel free to add extra flakes or even use sliced jalapeños!
How Should I Store Leftover Pickles?
Store your pickles in an airtight container in the refrigerator. They stay fresh and crunchy for about 2 weeks. Just remember to keep an eye on them—fresh is best!
Can I Make These Pickles Vegetarian or Vegan?
Yes, this recipe is already vegan-friendly since it contains no animal products. Ensure all ingredients, such as the vinegar and sugar, are sourced from vegan standards, and you’re good to go!
These FAQs should help address some common concerns and tips for making your pickles even better! Enjoy your pickling adventure!