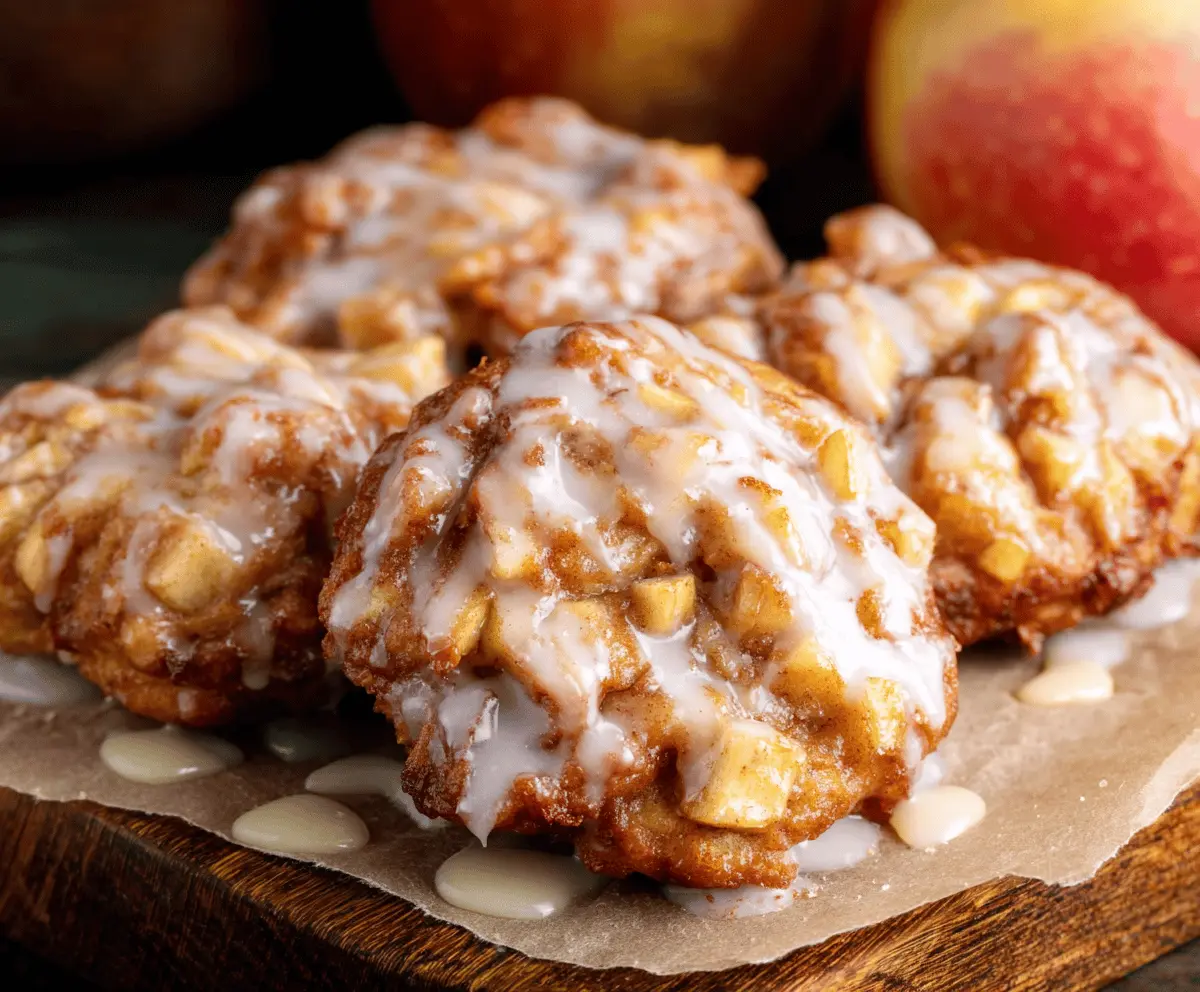
Warm, soft, and bursting with cinnamon-spiced apples, these Baked Apple Fritters are a cozy treat that brings the flavors of fall right to your kitchen. Unlike the traditional fried version, these fritters are baked to golden perfection, making them a lighter, easier, and less messy alternative. Each bite delivers tender chunks of apple wrapped in a lightly sweet dough, drizzled with a simple glaze that makes them absolutely irresistible.
Perfect for breakfast, brunch, or a comforting dessert, baked apple fritters pair beautifully with a hot cup of coffee or tea. The aroma of cinnamon and apples filling the kitchen while they bake is enough to make anyone smile. They’re also a wonderful way to use up extra apples, especially during the autumn harvest season.
With a few pantry staples and fresh apples, you can whip up a batch of these delightful fritters in under an hour. They taste like bakery-style doughnuts but without the frying — a delicious and wholesome twist on a beloved classic.
Key Ingredients & Substitutions
Here’s what makes these fritters soft, flavorful, and beautifully spiced — plus a few easy swaps if you need them.
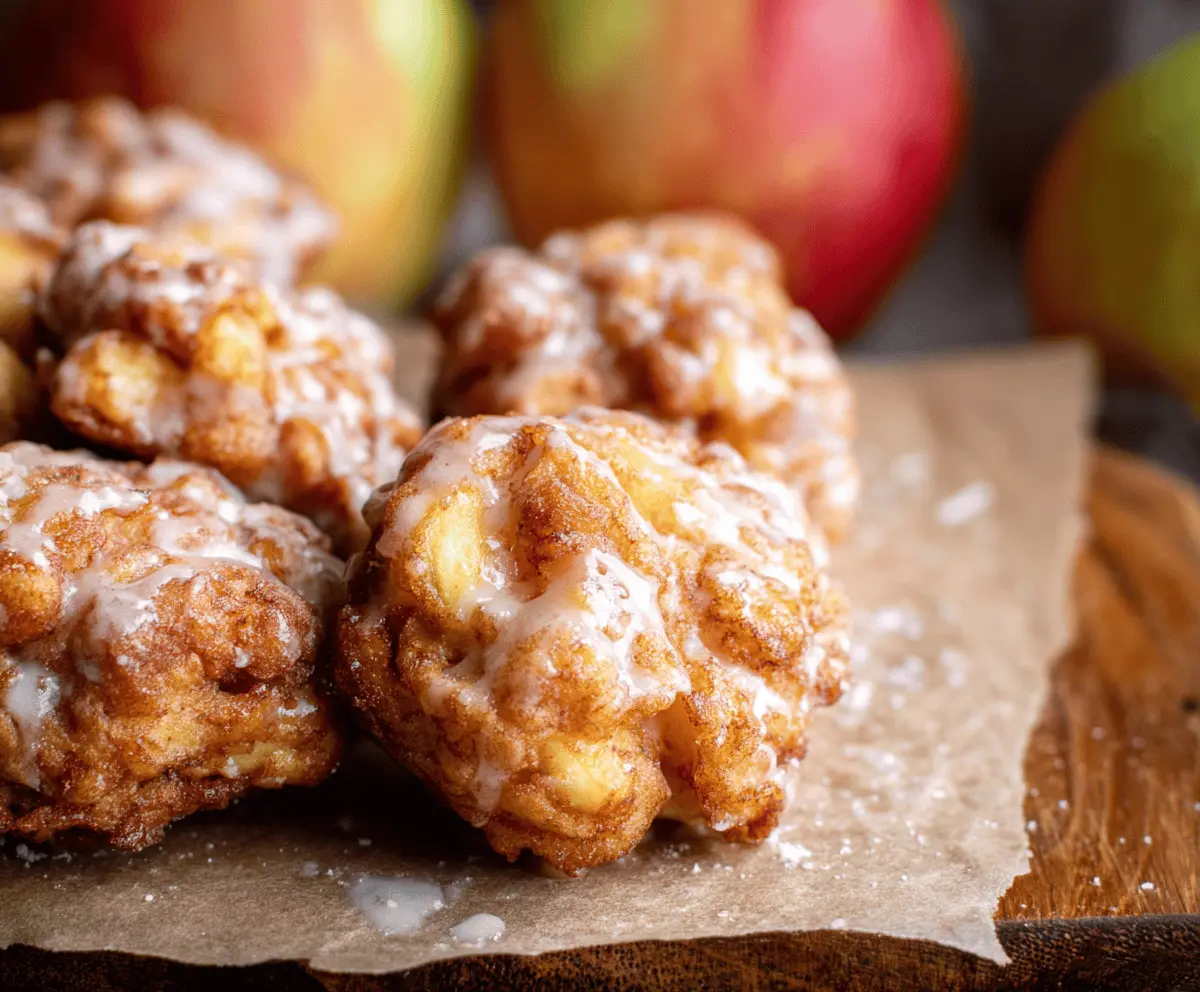
Apples: Use firm, crisp apples like Honeycrisp, Granny Smith, or Fuji for the best texture and flavor. You can mix sweet and tart varieties for balance.
All-Purpose Flour: Creates the base for the batter. You can use a 1:1 gluten-free baking blend if needed.
Sugar: Adds sweetness and helps with browning. Brown sugar can be used instead for a deeper, caramel-like flavor.
Cinnamon & Nutmeg: These warm spices are essential for that classic apple fritter taste. You can add a pinch of allspice or cloves for extra depth.
Milk: Keeps the batter moist. Any milk — dairy or plant-based — will work here.
Egg: Binds the batter and gives the fritters a soft, cake-like texture. For an egg-free option, use a flax egg (1 tbsp flaxseed meal + 3 tbsp water).
Butter: Adds richness and flavor. You can substitute with coconut oil or vegan butter if desired.
Powdered Sugar & Milk (for Glaze): The glaze adds that perfect sweet finishing touch. Use water or apple cider instead of milk for a hint of tang.
Equipment You’ll Need
- Mixing bowls
- Whisk and spatula
- Measuring cups and spoons
- Baking sheet
- Parchment paper or silicone baking mat
- Small saucepan (for melting butter)
- Wire rack for cooling
- Spoon or cookie scoop for portioning
Flavor Variations & Add-Ins
- Add a handful of chopped pecans or walnuts for crunch
- Mix in a few raisins or dried cranberries for extra sweetness
- Use maple syrup in the glaze for a warm fall flavor
- Sprinkle coarse sugar on top before baking for added texture
- Add a touch of vanilla extract or apple pie spice to the batter
- Drizzle with caramel sauce instead of glaze for a dessert twist
- Swap apples for pears for a fun seasonal variation
How to Make Baked Apple Fritters
Ingredients You’ll Need:
- 2 cups all-purpose flour
- 1/3 cup granulated sugar
- 2 teaspoons baking powder
- 1 teaspoon cinnamon
- 1/4 teaspoon nutmeg
- 1/2 teaspoon salt
- 2/3 cup milk
- 2 large eggs
- 3 tablespoons melted butter
- 1 1/2 cups peeled and diced apples
- 1 cup powdered sugar (for glaze)
- 2–3 tablespoons milk or apple cider (for glaze)
How Much Time Will You Need?
Total time is about 35–40 minutes. Prep time takes around 15 minutes, and baking takes 18–22 minutes depending on your oven. Allow a few extra minutes for cooling and glazing.
Step-by-Step Instructions:
1. Preheat and Prepare the Pan
Preheat your oven to 400°F (200°C). Line a baking sheet with parchment paper or a silicone baking mat and set aside.
2. Mix the Dry Ingredients
In a large bowl, whisk together the flour, sugar, baking powder, cinnamon, nutmeg, and salt until evenly combined.
3. Add Wet Ingredients and Apples
In a separate bowl, whisk the milk, eggs, and melted butter. Pour the wet mixture into the dry ingredients and stir just until combined. Gently fold in the diced apples — don’t overmix or the fritters may become dense.
4. Scoop and Bake
Drop spoonfuls of batter (about 1/4 cup each) onto the prepared baking sheet, leaving space between each fritter. Bake for 18–22 minutes, or until golden brown and firm to the touch.
5. Prepare the Glaze
While the fritters bake, whisk together powdered sugar and milk (or apple cider) in a small bowl until smooth. Adjust the consistency with a few extra drops of liquid if needed.
6. Glaze and Serve
Allow the fritters to cool for about 5 minutes, then drizzle or dip them in the glaze. Place on a wire rack to set for a few minutes before serving warm.
Pro Tips for Best Texture & Taste
These simple tricks help you achieve soft, flavorful fritters every time.
- Use firm apples so they don’t get mushy during baking.
- Don’t overmix the batter — a few lumps are fine and help keep the texture tender.
- For extra crisp edges, brush the tops with melted butter before baking.
- Bake on a high rack for better browning.
- Let the glaze set slightly before serving for the perfect sweet finish.
Frequently Asked Questions
Can I make these ahead of time?
Yes! You can bake the fritters ahead and store them at room temperature for up to 2 days. Reheat in a 350°F oven for 5 minutes to refresh before serving.
Can I air-fry these fritters instead of baking?
Yes, you can air-fry them at 370°F for 8–10 minutes, flipping halfway through, until golden and cooked through.
Can I freeze baked apple fritters?
Absolutely. Let them cool completely, then freeze in an airtight container for up to 2 months. Reheat in the oven before glazing and serving.
What’s the best type of apple for this recipe?
Firm apples like Honeycrisp, Granny Smith, or Pink Lady hold their shape best when baked and give the perfect balance of tart and sweet flavor.