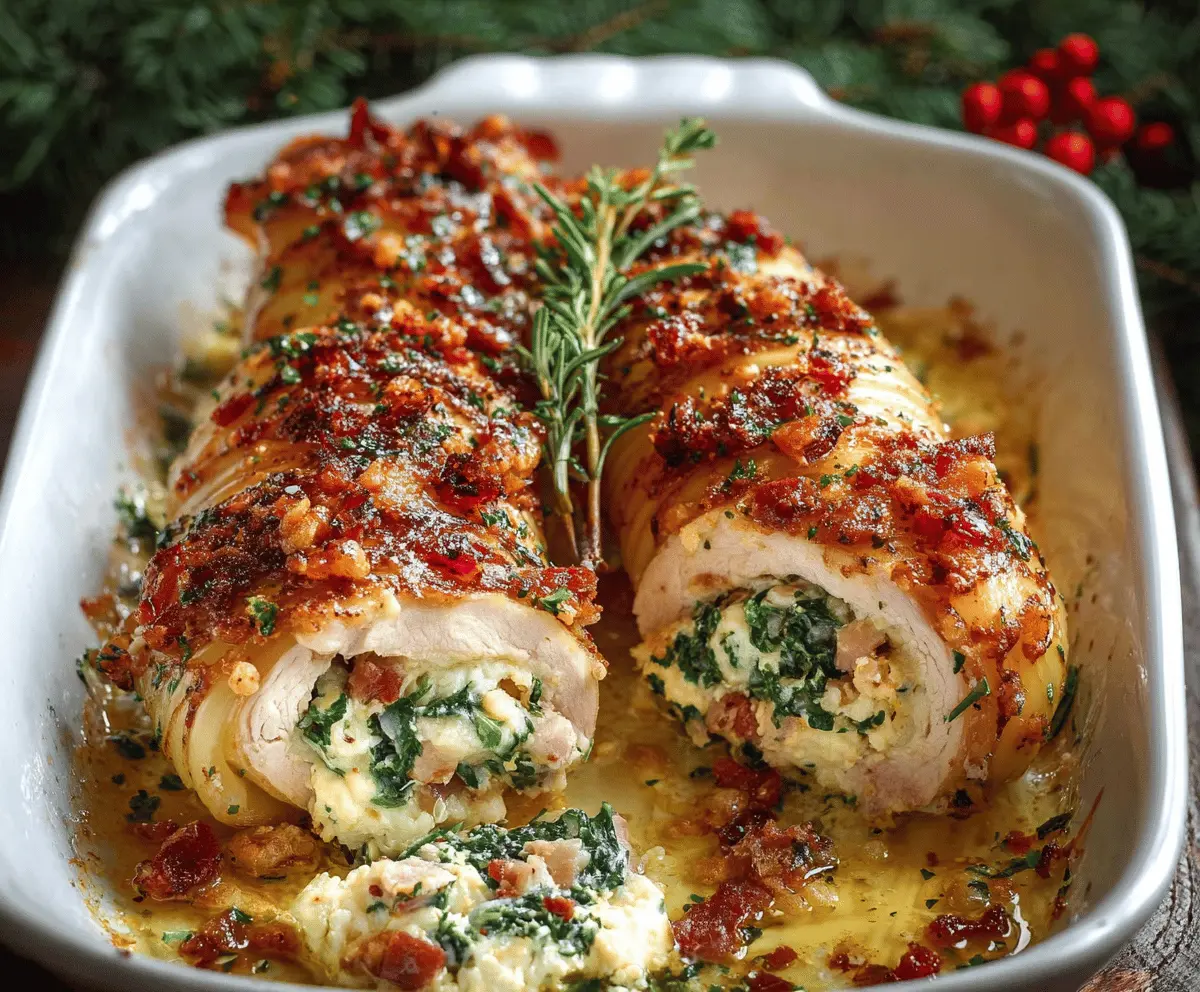
This Christmas Stuffed Pasta is a festive delight! It’s filled with creamy cheese and savory herbs, wrapped in tender pasta. Perfect for special gatherings, it makes everyone smile!
Making this dish brings back warm childhood memories of holiday dinners. I love serving it with a bright tomato sauce for a pop of color. Plus, it’s a fun way to gather everyone around the table! 🎄
Key Ingredients & Substitutions
Chicken Breasts: Use boneless and skinless for ease. If you’re avoiding poultry, try firm tofu or portobello mushrooms as a vegetarian alternative.
Ricotta Cheese: This creamy cheese gives a smooth texture. If you’re lactose intolerant, opt for cottage cheese or a dairy-free ricotta made from nuts.
Spinach: Fresh spinach is best, but frozen chopped spinach is a great substitute. Just squeeze out excess moisture before adding it to the filling.
Cheese: I love using mozzarella for its stretchiness and Parmesan for depth. You could use feta for a tangy twist or vegan cheeses for a dairy-free version.
Bacon: For a vegetarian option, consider using crispy tempeh bacon or smoked paprika to give a similar flavor without the meat.
How Do You Butterfly Chicken Breasts Properly?
Butterflying chicken breasts is essential for even cooking and easy rolling. Here’s how to do it:
- Place the chicken breast on a cutting board. Use a sharp knife to slice horizontally through the middle, stopping just before you reach the other side.
- Open the chicken like a book and gently pound it with a meat mallet or rolling pin to an even thickness of about 1/2 inch. This step helps the chicken cook evenly.
Take your time with this step; it makes the rolling process easier and ensures your filling stays packed inside!
Christmas Stuffed Pasta (Spinach and Cheese Stuffed Chicken Roll)
Ingredients You’ll Need:
For the Chicken Rolls:
- 2 large boneless, skinless chicken breasts (butterflied)
- 1 cup ricotta cheese
- 1 cup fresh spinach, chopped
- 1/2 cup grated Parmesan cheese
- 1/2 cup mozzarella cheese, shredded
- 1/4 cup sun-dried tomatoes, chopped
- 2 cloves garlic, minced
- 2 tablespoons olive oil
- 4 slices bacon, finely chopped
- 1 small onion, finely diced
- 1 teaspoon Italian seasoning or dried herbs (basil, oregano)
- 1/2 teaspoon crushed red pepper flakes (optional)
- Salt and pepper to taste
- Fresh parsley or thyme for garnish
- Cooking twine or toothpicks
How Much Time Will You Need?
This festive dish will take you about 15-20 minutes for prep and 30-35 minutes for baking. So, in total, you’re looking at around 50-55 minutes to bring this delicious meal to your table!
Step-by-Step Instructions:
1. Preheat the Oven:
Start by preheating your oven to 375°F (190°C). This will make sure it’s nice and hot when your stuffed chicken goes in!
2. Butterfly the Chicken:
Take each chicken breast and slice horizontally through the center, but don’t cut all the way through! Open it like a book and use a meat mallet or rolling pin to gently pound it to about 1/2 inch thickness. This is key for even cooking and easier rolling!
3. Prepare the Filling:
In a mixing bowl, combine your ricotta cheese, chopped spinach, grated Parmesan, shredded mozzarella, sun-dried tomatoes, minced garlic, Italian seasoning, salt, and pepper. Mix everything together until it’s well combined.
4. Fill the Chicken:
Spread the cheese and spinach mixture evenly over the flattened chicken breasts, leaving a small border around the edges.
5. Roll Them Up:
Starting at one edge, carefully roll the chicken breasts up tightly. Make sure the filling doesn’t spill out! Secure the rolls with cooking twine or toothpicks to hold everything together.
6. Cook the Bacon:
In a skillet over medium heat, heat your olive oil and add the chopped bacon. Cook until it’s crispy, then remove it from the skillet and set aside. Leave the bacon fat in the skillet.
7. Sauté the Onion:
In the same skillet, add the diced onion to the bacon fat and sauté until they become translucent. Remove the onion and mix it with the crispy bacon. Yum!
8. Assemble in a Baking Dish:
Place the stuffed chicken rolls seam side down in a baking dish. This helps keep the filling inside while they bake. One by one, place them in the dish until all are snugly fit.
9. Add Bacon and Onion:
Evenly sprinkle the bacon and onion mixture over the top of the chicken rolls. This adds an extra layer of flavor you’ll love!
10. Bake:
Pop the baking dish in the oven and bake for about 30-35 minutes. You’re looking for the chicken to reach an internal temperature of 165°F (75°C) and the tops to be golden brown.
11. Rest and Serve:
Once done, remove them from the oven and let them rest for about 5 minutes. Carefully take out any twine or toothpicks before slicing.
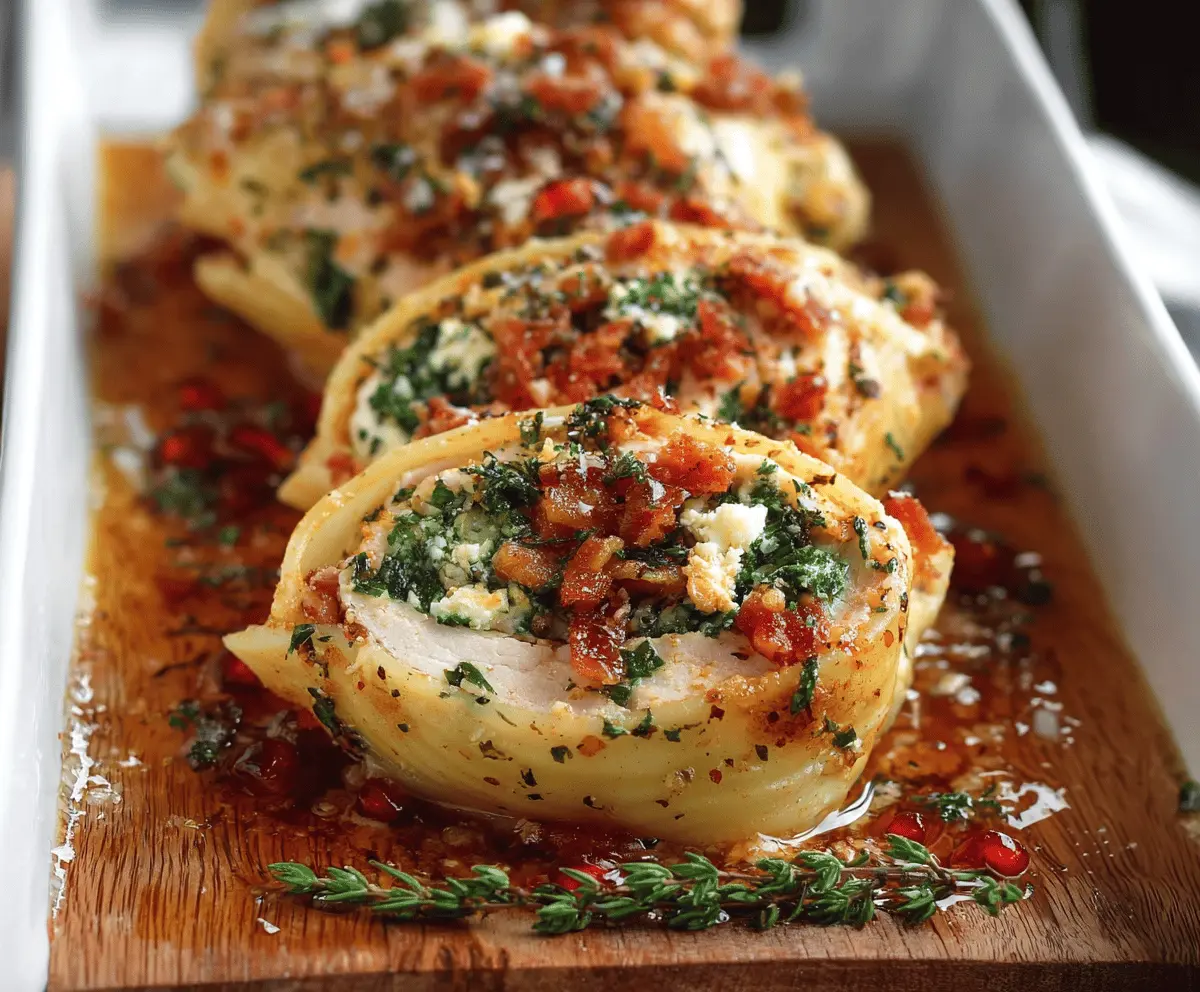
12. Garnish:
Sprinkle some fresh parsley or thyme on top for garnish, and serve warm. Enjoy your delicious and festive Christmas stuffed pasta style chicken rolls!
These rolls are creamy, savory, and perfect for the holiday spirit. Happy cooking!
Can I Use Frozen Chicken Breasts for This Recipe?
Yes, you can! Just make sure to completely thaw the chicken breasts before starting. The best method is to thaw them overnight in the fridge or place them in a sealed bag and submerge in cold water for a quicker option.
What Can I Substitute for Ricotta Cheese?
If you don’t have ricotta on hand, you can use cottage cheese blended until smooth for a similar texture. For a dairy-free option, look for a nut-based cheese or make a tofu ricotta by blending silken tofu with lemon juice and a pinch of salt.
How Do I Store Leftovers?
Store any leftovers in an airtight container in the fridge for up to 3 days. To reheat, place in a microwave or oven until warmed through, ensuring not to dry them out.
What Should I Serve with These Chicken Rolls?
These stuffed chicken rolls pair beautifully with a fresh salad, roasted vegetables, or even over a bed of pasta topped with marinara for a hearty meal. Enjoy experimenting with sides to make it your own!