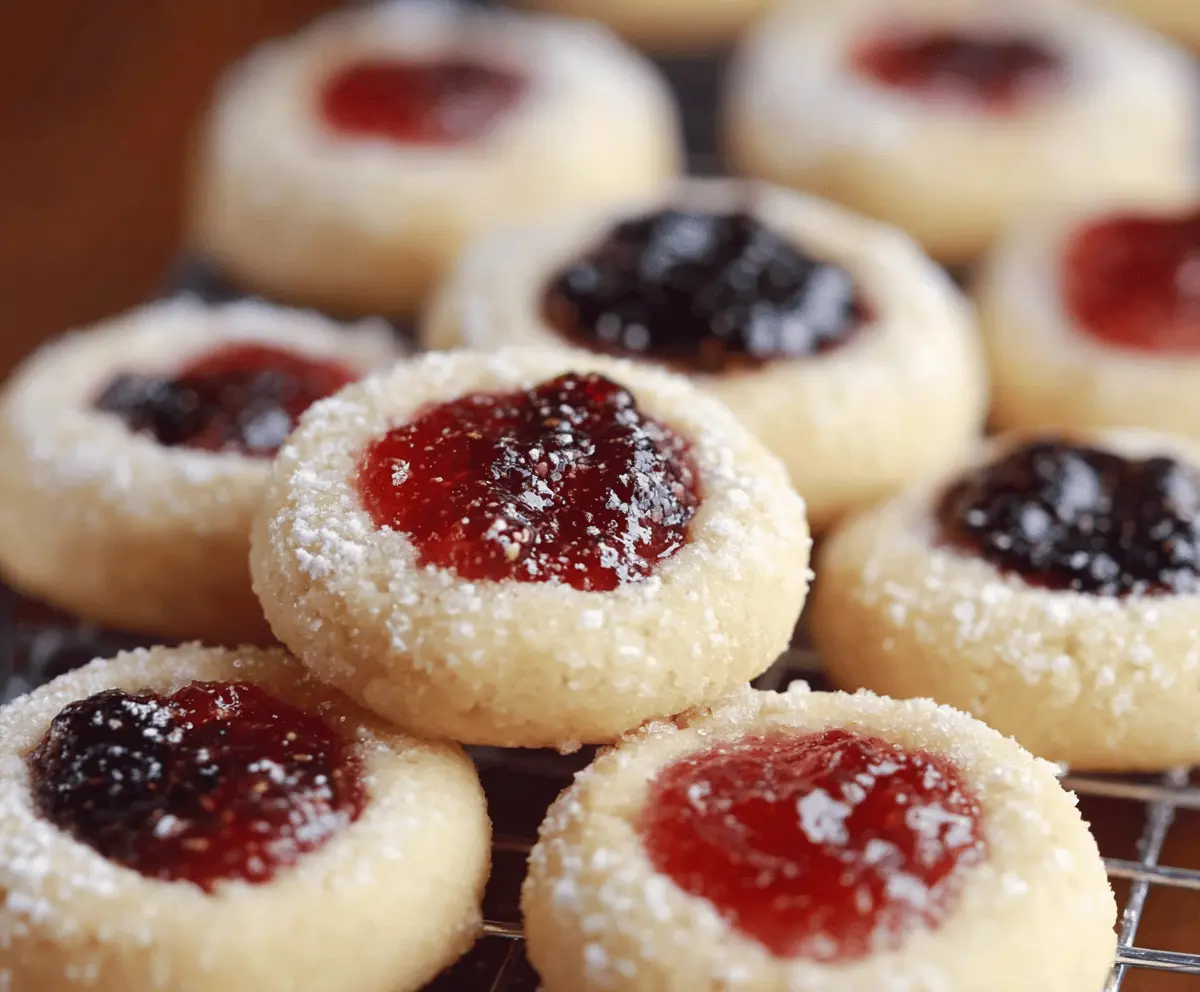
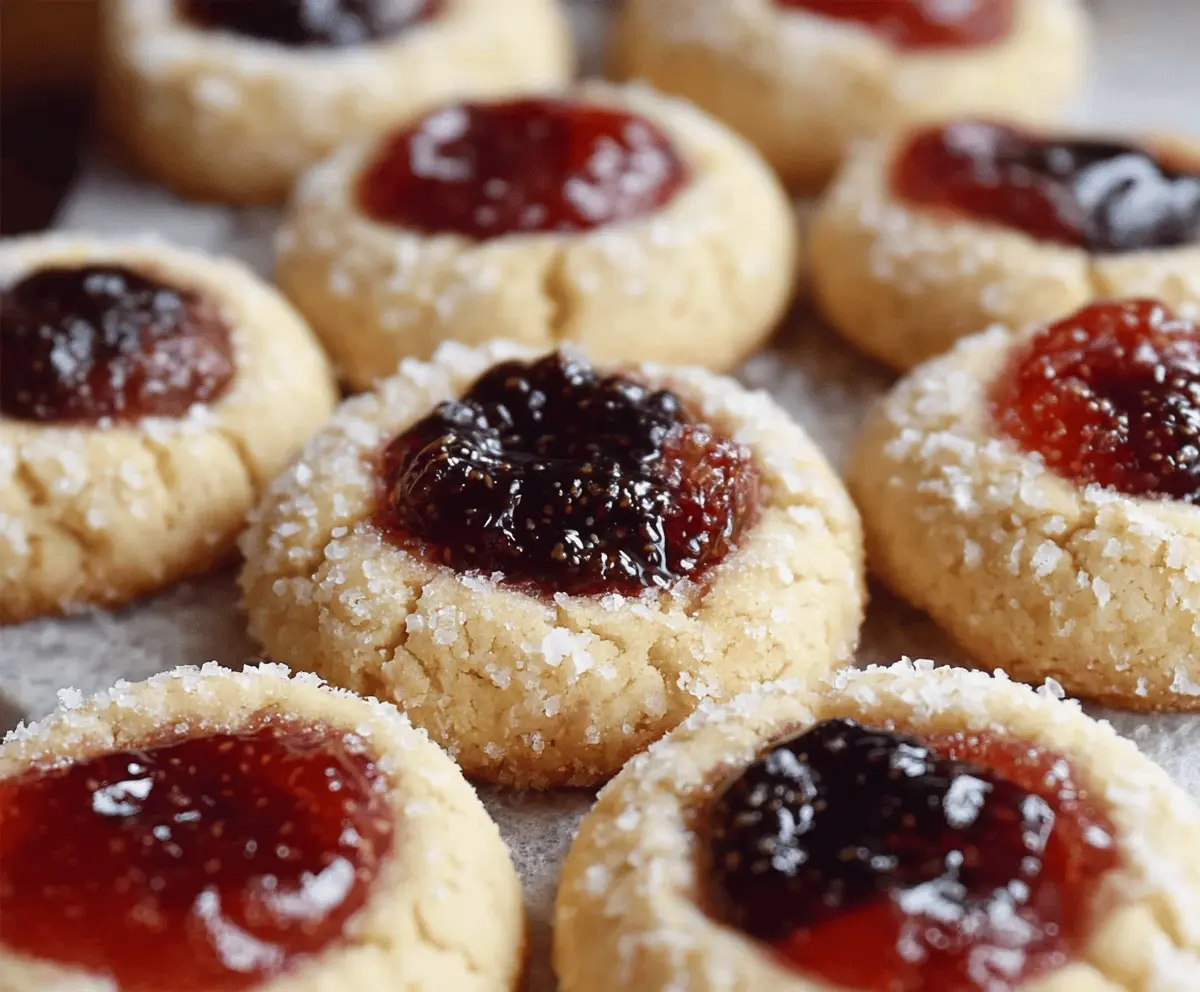
Jam thumbprint cookies are sweet little treats with a soft center and a yummy jam filling! They have a delightful buttery taste and are perfect for sharing or enjoying with a cup of tea.
These cookies are so fun to make! Just roll, thumbprint, fill with jam, and bake. I sometimes mix different jams for a colorful surprise. Who can resist that tiny burst of sweetness? 😋
Key Ingredients & Substitutions
Unsalted Butter: This is crucial for the cookie’s rich flavor and soft texture. If you’re dairy-free, try using plant-based butter or margarine as a substitute.
Granulated Sugar: Regular sugar gives these cookies sweetness and helps with texture. If you’re looking for a healthier option, you can use coconut sugar, though it may slightly alter the taste.
Jam: You can use your favorite jam like strawberry, raspberry, or orange marmalade. If you’re without jam, Nutella or chocolate ganache would also work well!
All-Purpose Flour: This is the foundation of the cookie. If you need gluten-free options, a 1:1 gluten-free flour blend usually works, but check the package for specifics.
How Do You Make Sure the Cookies Don’t Spread Too Much?
To keep these cookies from spreading too much during baking, it’s important to chill the dough after forming the balls. Here’s how you can do it:
- Once you’ve shaped the dough balls, place them in the refrigerator for about 30 minutes.
- This chilling time solidifies the butter, helping cookies hold their shape while baking.
- Another tip: ensure your baking sheet is not too hot when placing the dough on it, as a warm baking sheet can lead to spreading.
How to Make Jam Thumbprint Cookies
Ingredients You’ll Need:
For the Cookie Dough:
- 1 cup (225 g) unsalted butter, softened
- 2/3 cup (135 g) granulated sugar, plus extra for rolling
- 1 teaspoon vanilla extract
- 2 cups (250 g) all-purpose flour
- 1/2 teaspoon salt
For the Filling:
- 1/2 cup (150 g) jam (such as raspberry, strawberry, or blackberry)
For Dusting:
- Powdered sugar for dusting (optional)
How Much Time Will You Need?
This recipe takes about 20 minutes to prepare and 12-15 minutes to bake, plus a little cool time. Aim for about 45 minutes in total, and you’ll be enjoying fresh cookies in no time!
Step-by-Step Instructions:
1. Preheat the Oven and Prepare the Baking Sheet:
Start by preheating your oven to 350°F (175°C). While the oven is warming up, line a baking sheet with parchment paper to prevent the cookies from sticking.
2. Cream Together the Butter and Sugar:
In a large mixing bowl, use a hand mixer or a wooden spoon to cream together the softened butter and 2/3 cup of granulated sugar. Beat it until the mixture is light and fluffy—this should take about 3-4 minutes.
3. Add Vanilla and Combine:
Next, add the vanilla extract and give it a good mix until it is all combined and smooth.
4. Combine Dry Ingredients:
In a separate bowl, whisk together the all-purpose flour and salt. This will ensure even distribution of the salt throughout the cookie dough.
5. Mix Dry and Wet Ingredients:
Gradually add the flour mixture to the butter mixture, mixing until just combined. Avoid overmixing; you want a nice, soft dough.
6. Shape the Dough:
Scoop out tablespoon-sized portions of the dough and roll each piece into a ball with your hands. Then roll each ball in granulated sugar to give them a little sweetness on the outside.
7. Prepare for Baking:
Place the sugar-coated dough balls on your prepared baking sheet, leaving about 2 inches of space between each cookie. This will allow them to spread as they bake.
8. Create the Thumbprint Indentations:
Using your thumb or the back of a small spoon, gently press into the center of each dough ball to create a small well. Don’t press all the way through—just enough to hold the jam!
9. Fill with Jam:
Now, fill each indentation with about 1/2 teaspoon of your chosen jam. Go ahead and use your favorite flavors—mixing them up can be fun!
10. Bake the Cookies:
Bake the cookies in your preheated oven for 12-15 minutes. Keep an eye on them, and look for the edges to start turning golden brown.
11. Cool the Cookies:
Once baked, remove the cookies from the oven and let them cool on the baking sheet for about 5 minutes. Then, carefully transfer them to a wire rack to cool completely.
12. Dust and Serve:
If you like, dust the cooled cookies with powdered sugar before serving for a pretty touch!
Enjoy your soft, buttery jam thumbprint cookies that are sweet, slightly crunchy on the edges, and filled with a pop of fruity jam!
Can I Use Different Types of Jam?
Absolutely! Feel free to use your favorite jams like raspberry, strawberry, apricot, or even chocolate spread for a fun twist. Mixing different flavors can create a delightful variety!
How to Store Leftover Cookies?
Store your leftover jam thumbprint cookies in an airtight container at room temperature for up to 5 days. If you want to keep them fresh for longer, you can refrigerate them for up to a week.
Can I Make the Dough Ahead of Time?
Yes! You can make the dough ahead of time and refrigerate it for up to 3 days. Just be sure to let it sit at room temperature for about 10-15 minutes before rolling and shaping, as cold dough can be difficult to work with.
What If My Cookies Spread Too Much?
If your cookies spread more than you’d like, try chilling the dough for 30 minutes before baking. Also, ensure your baking sheet is cool before placing the dough balls on it to help them maintain their shape.