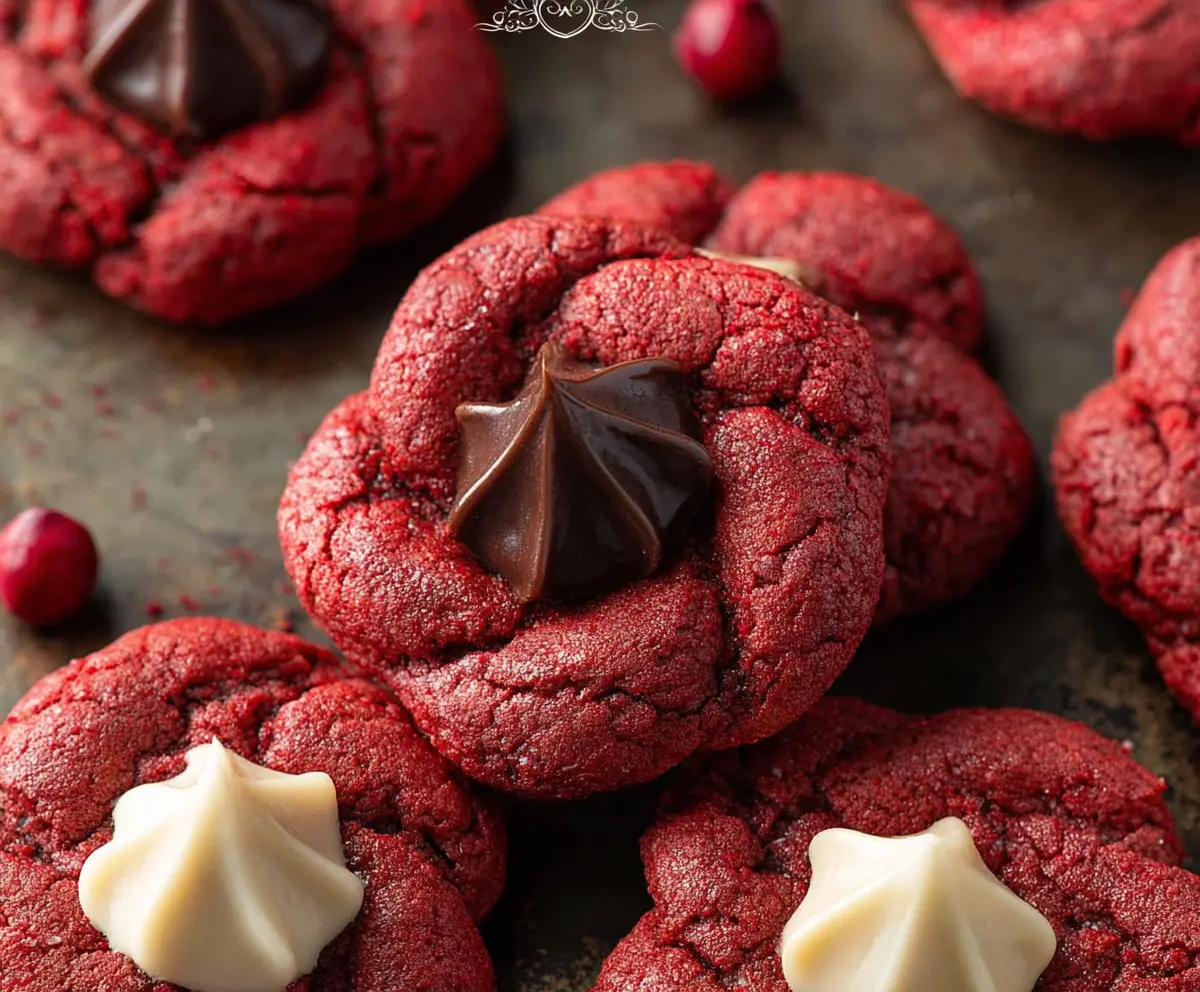
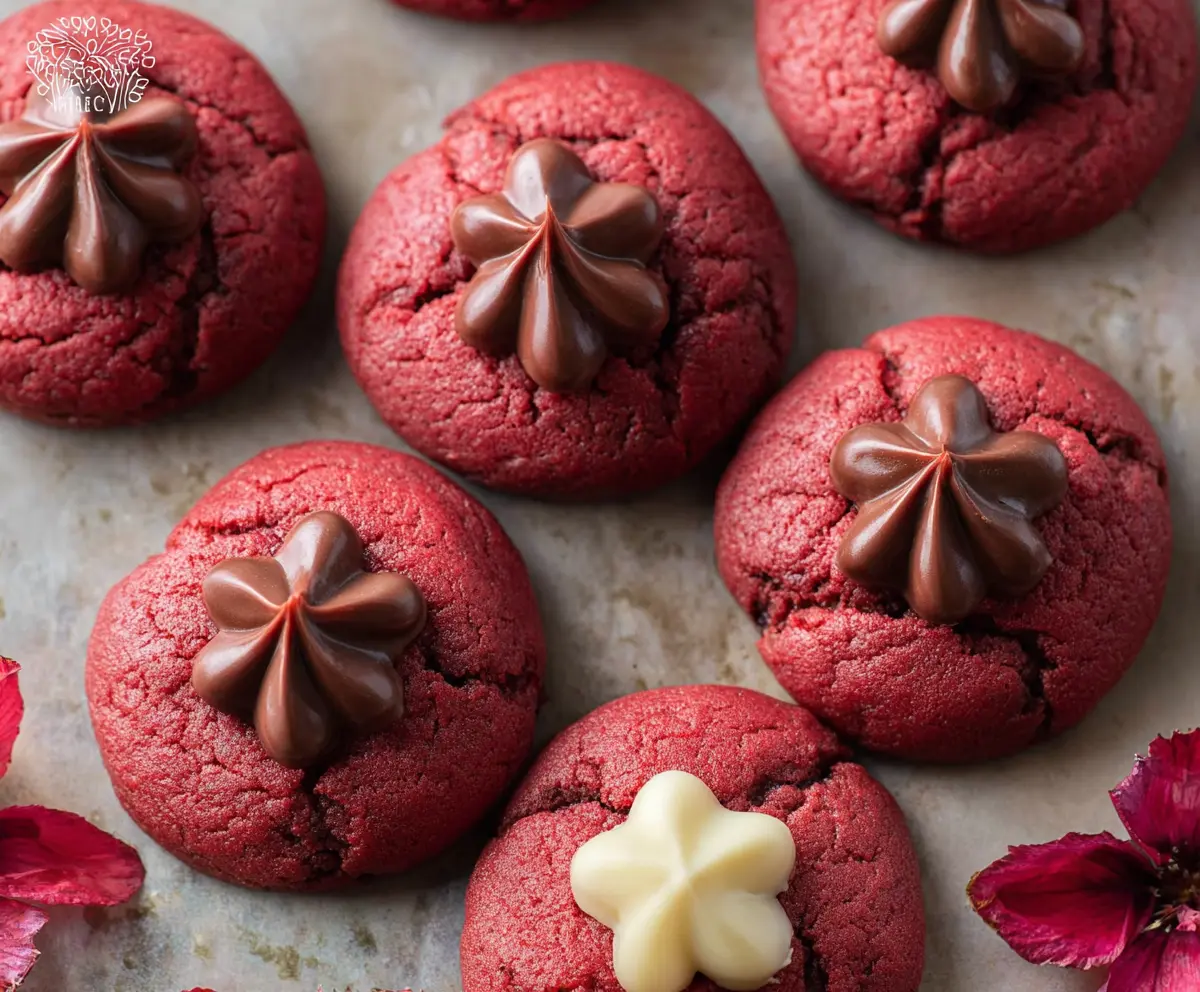
These Red Velvet Blossom Cookies are a fun twist on the classic! They’re soft, chewy, and have that pretty red color that makes them a treat to see and eat.
The chocolate kiss on top adds a sweet surprise. Seriously, who can resist that combo? You’ll find yourself wanting more than just one! 🤤
I love making these cookies for parties or special occasions. They’re easy to whip up and always a hit, leaving everyone asking for the recipe—it’s like magic!
Key Ingredients & Substitutions
All-Purpose Flour: Standard all-purpose flour works great for this recipe. If you’re looking for a gluten-free option, try using a 1:1 gluten-free flour blend. It can give your cookies a slightly different texture but still tastes delicious!
Cocoa Powder: Unsweetened cocoa powder is a must for that rich chocolate flavor in red velvet cookies. If you don’t have any, you could use Dutch-processed cocoa but keep in mind it may affect the cookie’s color slightly.
Butter: Unsalted butter is best so you can control the saltiness. If you’re in a pinch, you can substitute with margarine or even coconut oil, which can add a subtle flavor twist!
Red Food Coloring: This gives the cookies their signature color. If you’re avoiding artificial colors, consider using beet juice or powdered beet juice. It might change the flavor a bit but still works well.
Buttermilk: If you’re out of buttermilk, a simple substitute is to mix 2 tablespoons of milk with 1/2 teaspoon of vinegar or lemon juice. Let it sit for 5 minutes to create your own buttermilk!
How Do I Ensure My Cookies Bake to Perfection?
Baking cookies may seem straightforward, but there are a few tips to help you achieve the best results. Here’s how to get those beautiful, gooey blossom cookies:
- Always preheat your oven to the right temperature, which ensures even baking.
- Line your baking sheet with parchment paper for easy clean-up and to prevent sticking.
- When rolling the dough, aim for uniformity—keeping each ball about 1 inch helps them bake evenly.
- Don’t overcrowd the baking sheet! Leaving space between dough balls ensures they spread out nicely without merging.
- Check your cookies at the lower end of the baking time. They should look set but soft, and remember they’ll continue to firm up after cooling.
How to Make Red Velvet Blossom Cookies
Ingredients You’ll Need:
Dry Ingredients:
- 1 1/2 cups all-purpose flour
- 1/4 cup unsweetened cocoa powder
- 1 teaspoon baking powder
- 1/4 teaspoon salt
Wet Ingredients:
- 1/2 cup unsalted butter, softened
- 1 cup granulated sugar (plus extra for rolling)
- 1 large egg
- 2 tablespoons buttermilk
- 1 tablespoon red food coloring
- 1 teaspoon vanilla extract
- 1/2 teaspoon distilled white vinegar
Chocolate Topping:
- 1/2 cup semi-sweet chocolate chips (for melting)
- 1/2 cup white chocolate chips (for melting)
How Much Time Will You Need?
This delightful cookie recipe will take about 15 minutes of preparation time, plus 8 to 10 minutes for baking. After the cookies are baked, let them cool for a bit to ensure the chocolate sets properly before serving. Overall, you can enjoy these beautiful cookies in about 30 minutes!
Step-by-Step Instructions:
1. Prepare the Oven and Baking Sheet:
Start off by preheating your oven to 350°F (175°C). Line a baking sheet with parchment paper so your cookies don’t stick and cleanup is easy. This step is key for perfect baking!
2. Mix the Dry Ingredients:
In a medium bowl, combine the all-purpose flour, cocoa powder, baking powder, and salt. Use a whisk to blend them together nicely, and then set this bowl aside. This ensures that the dry ingredients are evenly combined for your cookie dough.
3. Cream the Butter and Sugar:
In a large bowl, use an electric mixer to cream the softened butter and 1 cup of granulated sugar until the mixture is light and fluffy. This process helps incorporate air into the dough, making the cookies soft and delicious!
4. Add Wet Ingredients:
To the creamed mixture, add the egg, buttermilk, red food coloring, vanilla extract, and distilled white vinegar. Mix everything until it’s fully combined. The red food coloring will give that gorgeous red hue to your cookies!
5. Combine Wet and Dry Ingredients:
Gradually add the dry ingredients to the wet mixture. Blend until the dough is smooth. Don’t worry if it’s a little sticky—that’s normal!
6. Shape the Cookies:
Take portions of dough and roll them into 1-inch balls. Then, roll each ball in some granulated sugar to coat them lightly. This gives the cookies a nice sparkle and adds sweetness!
7. Arrange on the Baking Sheet:
Place the sugar-coated dough balls on your prepared baking sheet, making sure they are about 2 inches apart. They will spread a little while baking, so give them enough room!
8. Bake the Cookies:
Pop the baking sheet in the oven and bake for 8 to 10 minutes. You want them to be set but still soft in the middle, and they may crack slightly on top. Keep an eye on them so they don’t overbake!
9. Melt the Chocolate:
While the cookies are baking, melt the semi-sweet and white chocolate chips in separate bowls. You can do this using a double boiler or the microwave (heat in short bursts and stir until smooth). Be careful not to overheat the chocolate!
10. Add the Chocolate Toppings:
As soon as you take the cookies out of the oven, press a small spoonful of melted semi-sweet chocolate into the center of half the cookies and do the same with the white chocolate for the rest. This creates the beautiful blossom tip shape for your cookies!
11. Cool the Cookies:
Let the cookies cool on the baking sheet until the chocolate sets and the cookies firm up. This may take a few minutes, but patience will reward you with perfect cookies!
12. Serve and Enjoy!
Once the cookies have cooled, they are ready to serve. Enjoy the soft, rich flavor and stunning appearance of your Red Velvet Blossom Cookies with family and friends!
Can I Use Alternative Sweeteners for This Recipe?
Yes! You can substitute granulated sugar with alternatives like coconut sugar or a sugar substitute suitable for baking. However, it may slightly alter the texture and taste, so keep that in mind!
What Can I Use Instead of Buttermilk?
If you don’t have buttermilk, you can easily make a substitute by combining 2 tablespoons of milk with 1/2 teaspoon of vinegar or lemon juice. Let it sit for about 5 minutes before adding it to your mixture!
How Should I Store Leftover Cookies?
Store any leftover cookies in an airtight container at room temperature for up to 5 days. If you prefer, you can also refrigerate them to keep them fresher longer, just be sure to allow them to come to room temperature before serving!
Can I Freeze These Cookies?
Absolutely! You can freeze the cookies either before or after baking. If you freeze before baking, just roll them into balls and place them on a baking sheet to freeze individually. Once solid, transfer them to a zip-top freezer bag. Bake straight from frozen, adding an extra minute or two to the baking time. For baked cookies, let them cool completely, then store in an airtight container or freezer bag for up to 3 months.