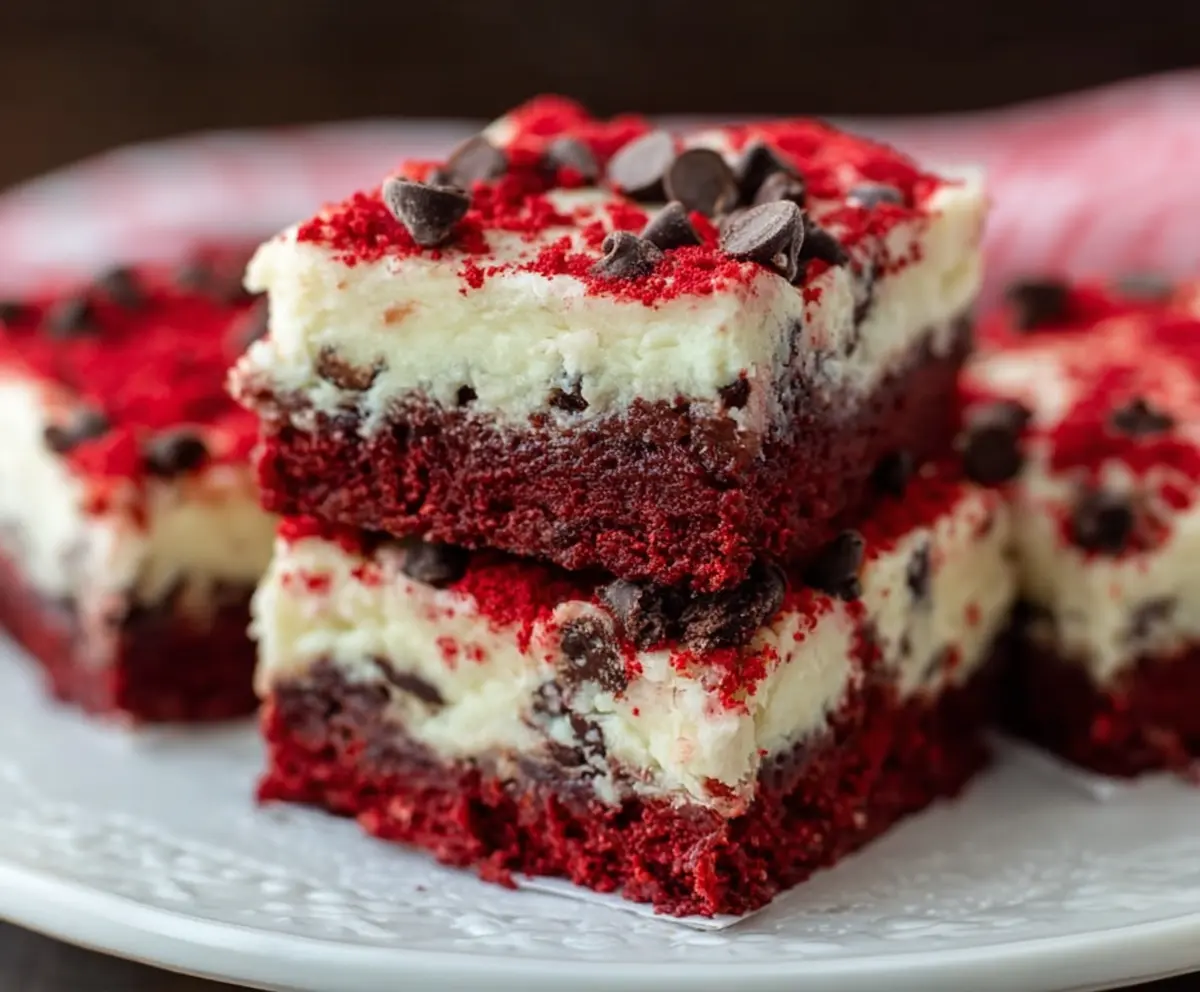
These Red Velvet Chocolate Chip Cheesecake Bars are a fun twist on classic favorites! With a rich red velvet base and creamy cheesecake swirls, they’re perfect for sharing (or not! 😉).
The chocolate chips add a little surprise in every bite, making them even more delightful. I love serving these with a dollop of whipped cream on top—they really steal the show at any gathering!
Key Ingredients & Substitutions
All-Purpose Flour: This forms the base for both layers. If you’re looking for a gluten-free option, you can use a gluten-free 1-to-1 baking flour, which works well in this recipe.
Unsweetened Cocoa Powder: Cocoa adds a rich flavor to the red velvet cake. If you’re out, use dutch-process cocoa for a deeper color and taste. Just ensure it’s unsweetened!
Red Food Coloring: Traditional recipes use red food coloring for that signature look. If you prefer more natural methods, beet juice or pomegranate juice can add color, though they may affect flavor slightly.
Buttermilk: Buttermilk enhances moistness and flavor in the cake. If you don’t have buttermilk, mix 1/2 cup milk with 1/2 tablespoon vinegar or lemon juice and let it sit for 10 minutes.
Cream Cheese: It’s essential for the cheesecake layer. You can use Neufchâtel cheese for a lower-fat version, or for a dairy-free alternative, try softened cashew cream instead.
How Do You Make Creamy Cheesecake Filling?
Achieving a creamy cheesecake layer is all about how you mix your ingredients. Start by ensuring your cream cheese is at room temperature for easier blending. This helps prevent lumps, which can ruin your texture.
- Beat cream cheese first until smooth, then add sugar gradually.
- Incorporate eggs one at a time, mixing thoroughly after each addition to maintain a smooth consistency.
- Gently fold in the chocolate chips to avoid breaking them.
Keeping your mixer on low speed helps, too—this limits air bubbles, leading to a denser cheesecake that’s nice and creamy after it sets. Enjoy making this delightful dessert!
How to Make Red Velvet Chocolate Chip Cheesecake Bars
Ingredients You’ll Need:
For the Red Velvet Cake Layer:
- 1 and 1/4 cups all-purpose flour
- 1 tablespoon unsweetened cocoa powder
- 1/2 teaspoon baking soda
- 1/4 teaspoon salt
- 1/2 cup unsalted butter, softened
- 1 cup granulated sugar
- 2 large eggs
- 1 teaspoon vanilla extract
- 1/2 cup buttermilk
- 1 tablespoon red food coloring
- 1 teaspoon white vinegar
For the Cheesecake Layer:
- 16 oz (450 g) cream cheese, softened
- 2/3 cup granulated sugar
- 2 large eggs
- 1 teaspoon vanilla extract
- 1 cup mini chocolate chips (plus extra for topping)
For Garnish:
- Red velvet cake crumbs (reserved from trimming)
- Chocolate chips
How Much Time Will You Need?
This recipe will take approximately 15 minutes to prep, 40-45 minutes of baking, and then at least 4 hours to chill in the fridge (preferably overnight for the best texture). So, plan for a total of about 5 hours including chilling time!
Step-by-Step Instructions:
1. Preheat the Oven:
Start by preheating your oven to 350°F (175°C). While that’s heating up, take a 9×9-inch baking pan and line it with parchment paper, leaving some overhang on the sides. This will help you lift the bars out later.
2. Make the Red Velvet Cake Layer:
In a medium bowl, sift together the flour, cocoa powder, baking soda, and salt. Set this aside. In a large mixing bowl, cream together the softened butter and sugar until it’s light and fluffy. Next, add the eggs one at a time, making sure to beat well after each addition. Stir in the vanilla extract, then mix in the red food coloring and white vinegar. Gradually add the flour mixture and buttermilk, starting and ending with the flour, until everything is well combined and smooth.
3. Bake the Red Velvet Base:
Pour the luscious red velvet batter into your prepared pan, smoothing it evenly. Bake in the preheated oven for about 15 minutes, or until the edges are set, but the center is still slightly soft. Once done, remove it from the oven and let it cool for a bit while you prepare the cheesecake layer.
4. Make the Cheesecake Layer:
In a large bowl, use an electric mixer to beat the softened cream cheese until it’s smooth. Add the sugar gradually, continuing to beat until the mixture is creamy. Add the eggs one at a time, mixing well after each addition. Then, stir in the vanilla extract and gently fold in the mini chocolate chips.
5. Assemble and Bake:
Now it’s time to pour the cheesecake mixture evenly over the warm red velvet base. Bake this in the oven for another 25-30 minutes. You want the cheesecake layer set but still has a slight jiggle in the middle. Once baked, remove it from the oven and let it cool completely on a wire rack.
6. Chill:
Once it has cooled down, cover the pan and refrigerate for at least 4 hours, but for the best taste and texture, it’s best to chill it overnight.
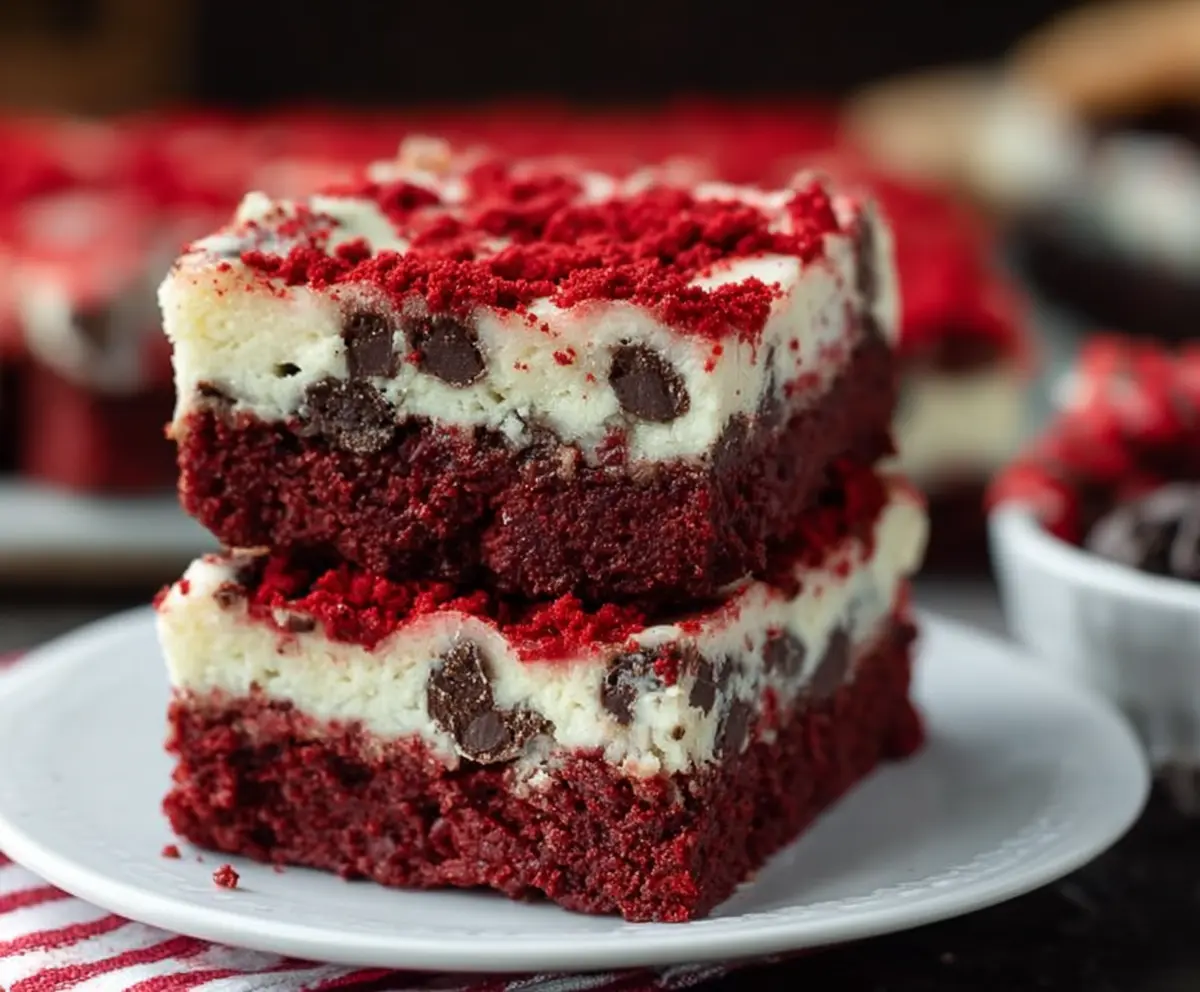
7. Garnish and Serve:
When you’re ready to serve, lift the cheesecake bars out of the pan using the parchment paper overhang. Sprinkle some extra mini chocolate chips on top, and for a fun and pretty presentation, crumble some reserved red velvet cake crumbs over the top as decoration. Cut into squares and enjoy your delicious Red Velvet Chocolate Chip Cheesecake Bars chilled!
Enjoy making these tasty treats!
Can I Use Different Chocolate Chips?
Absolutely! While mini chocolate chips are ideal for mixing in, you can substitute with regular chocolate chips or even white chocolate chips for a sweeter touch. Just keep in mind that larger chips may not distribute as evenly throughout the cheesecake layer.
Can I Make This Recipe Gluten-Free?
Yes, you can! Simply replace the all-purpose flour with a gluten-free 1-to-1 baking flour. Just make sure to check that all other ingredients are gluten-free, especially the baking powder and any chocolate chips.
How Should I Store Leftover Cheesecake Bars?
Store any leftovers in an airtight container in the refrigerator for up to 3-4 days. To maintain their texture, you can also wrap individual squares in plastic wrap before placing them in the container.
Can I Freeze These Cheesecake Bars?
Yes, these bars freeze well! Once completely chilled, wrap them tightly in plastic wrap, and then place them in a freezer-safe container or bag. They can be frozen for up to 2 months. To thaw, place them in the refrigerator for a few hours or overnight before serving.