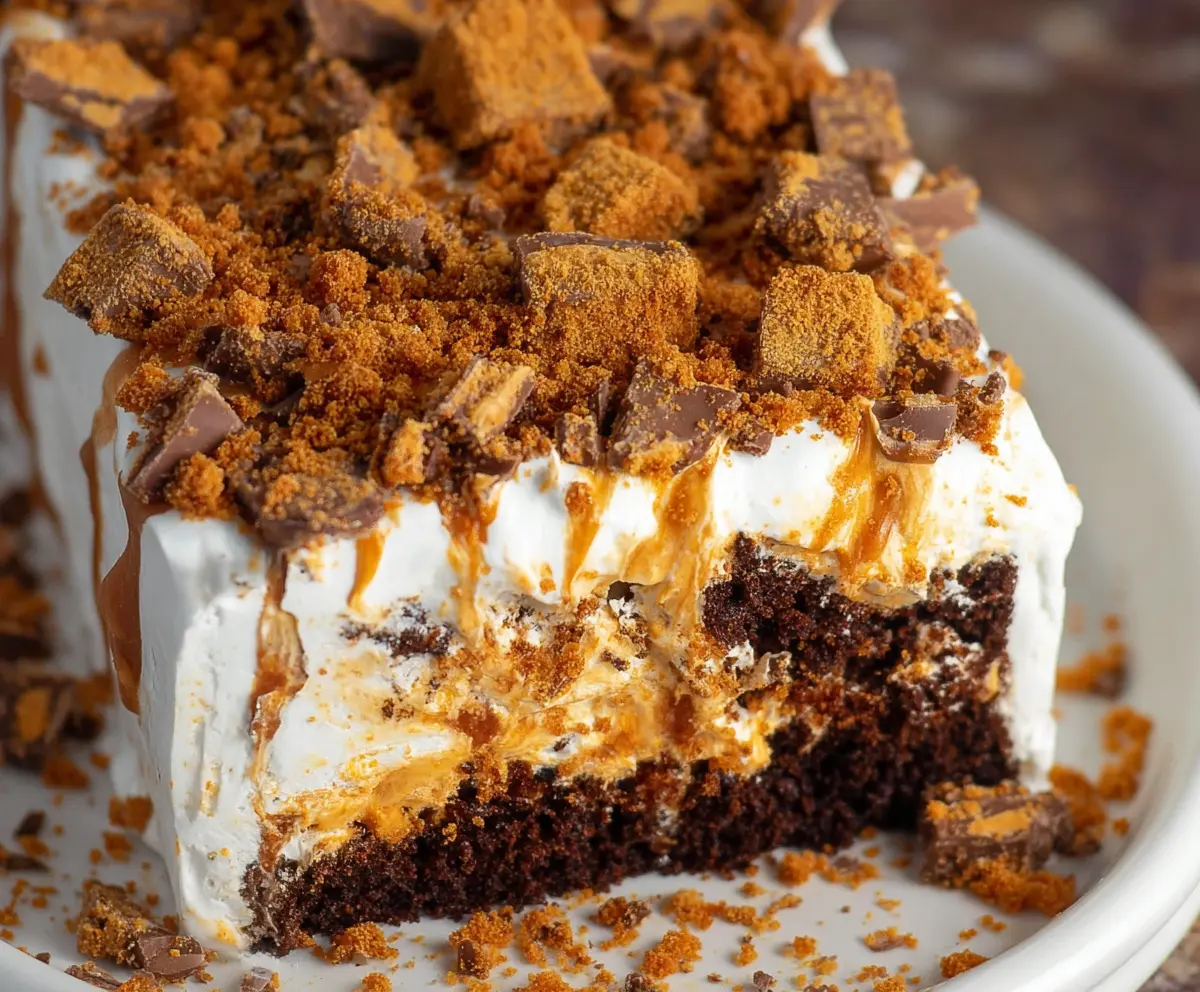
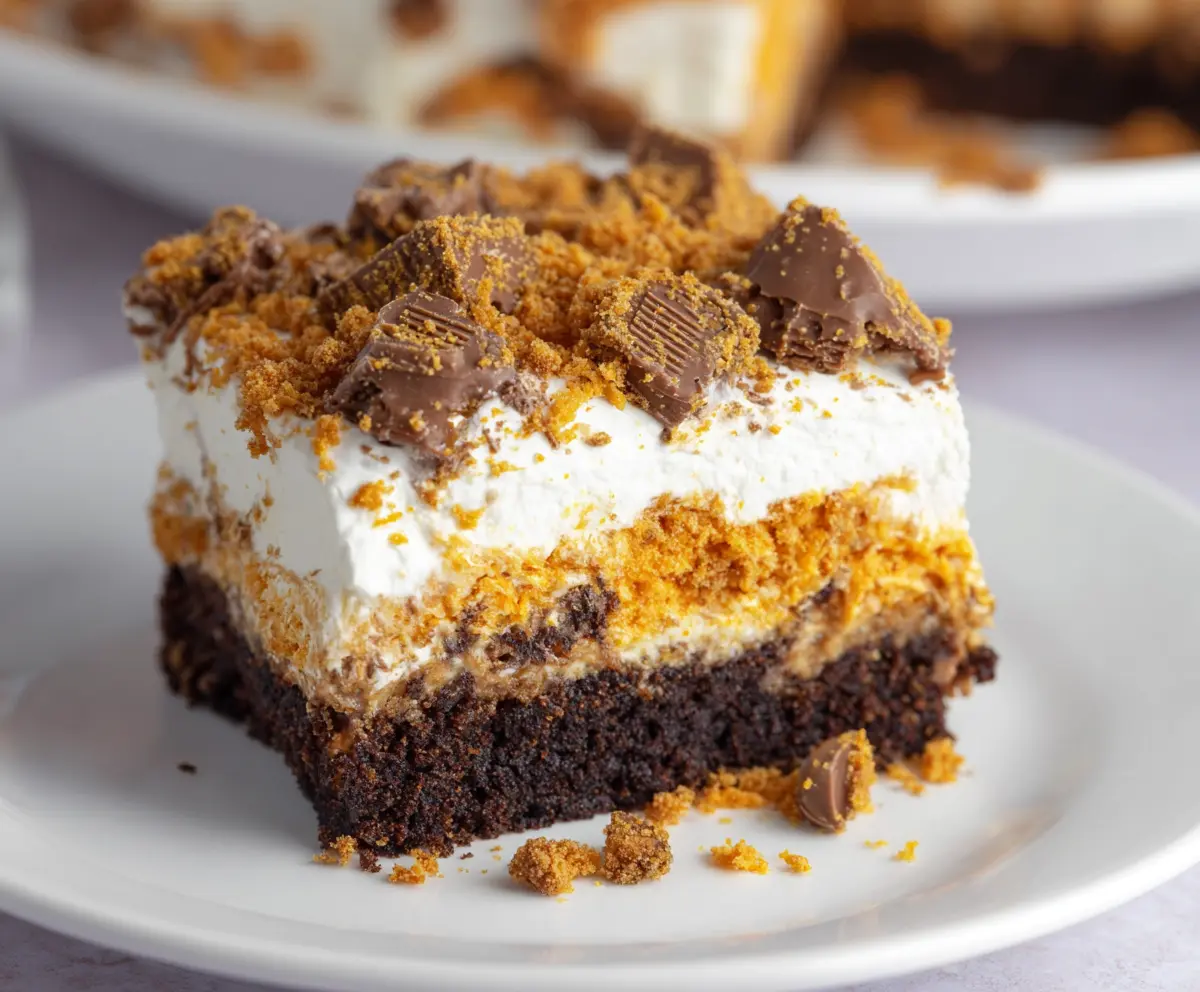
This Butterfinger Cake is a tasty treat that combines chocolate and peanut butter flavors, just like your favorite candy. It’s moist, sweet, and topped with crunchy Butterfinger bits!
Honestly, every bite feels like a little party in your mouth! 🎉 I love serving this cake at gatherings. It disappears faster than I can say “Butterfinger!”
Key Ingredients & Substitutions
Chocolate Cake Mix: Using a box mix saves time! If you want to make it from scratch, a simple chocolate cake recipe works too. You can also try a gluten-free cake mix if needed.
Cream Cheese: This gives a rich flavor to the cake. If you’re looking for a lighter option, try using Greek yogurt instead. It adds creaminess with fewer calories!
Whipped Topping: I love using Cool Whip for its ease, but you can make homemade whipped cream if you have the time. Just whip heavy cream until soft peaks form!
Peanut Butter: Creamy is best for this recipe, but if you prefer crunchy peanut butter, go for it! The extra texture is fun. There are also alternatives like almond or sunflower butter for nut allergies.
Butterfinger Bars: These are key for the classic taste, but you could use any chopped chocolate bar or candy that you love, such as Snickers or Reese’s.
What’s the Best Way to Get a Moist Cake?
To ensure your cake stays moist, remember a couple of tips. First, don’t overbake! Check at the minimum time and remove it as soon as a toothpick comes out clean. Also, letting it cool completely is key for the layers to blend well together without turning soggy.
- Ensure the oven is fully preheated before putting your cake in to help it bake evenly.
- Using oil in your cake mix can result in a softer texture than butter. If you prefer using oil, substitute part of the butter for oil in homemade mixes.
- Let the cake cool in the pan for about 10 minutes before transferring it. This helps retain moisture.
Butterfinger Cake Recipe
Ingredients You’ll Need:
- 1 box chocolate cake mix (or homemade chocolate cake batter)
- Ingredients needed for the cake mix (usually eggs, oil, water)
- 8 oz cream cheese, softened
- 1 cup powdered sugar
- 1 container (8 oz) frozen whipped topping, thawed (e.g. Cool Whip)
- 1 cup creamy peanut butter (smooth)
- 1/2 cup caramel sauce
- 6-8 Butterfinger candy bars, chopped roughly
- Additional caramel sauce for drizzling
How Much Time Will You Need?
This Butterfinger Cake takes about 15 minutes to prepare, plus 30-35 minutes for baking and at least 2 hours for chilling. You’ll spend some extra time waiting while the cake sets in the fridge, but the wait is totally worth it!
Step-by-Step Instructions:
1. Preheat and Prepare:
Start by preheating your oven according to the instructions on the chocolate cake mix box. Prepare the batter as instructed, or use your own homemade chocolate cake recipe if you prefer.
2. Bake the Cake:
Pour the cake batter into a greased 9×13-inch baking dish. Bake as recommended on the box, usually around 30-35 minutes. To check if it’s done, insert a toothpick into the center; it should come out clean or with just a few crumbs.
3. Cool It Down:
Once baked, let the cake cool completely in the pan. This step is crucial for achieving the best texture and flavor in your layered cake.
4. Make the Layered Filling:
In a mixing bowl, beat the softened cream cheese and powdered sugar together until smooth and creamy. This creates a sweet and tangy filling that contrasts beautifully with the chocolate.
5. Add the Peanut Butter:
Next, gently fold in the creamy peanut butter and half of the thawed whipped topping into the cream cheese mixture until well blended. This will be your delicious peanut butter layer!
6. Spread the Goodness:
Evenly spread the peanut butter mixture over the cooled chocolate cake. Use a spatula to make it nice and smooth.
7. Top it Off:
Now, carefully spread the remaining whipped topping over the peanut butter layer. This adds a light and fluffy texture to the cake.
8. Drizzle with Caramel:
Drizzle the caramel sauce over the top. Make sure to cover it evenly for that perfect sweet touch!
9. Add Butterfinger Crunch:
Generously sprinkle the chopped Butterfinger candy bars on top. Lightly press some pieces into the whipped topping so they stick and add crunch!
10. Chill:
Cover the cake and place it in the refrigerator to chill for at least 2 hours. This allows the flavors to meld together beautifully.
11. Serve and Enjoy:
Just before serving, you can drizzle more caramel sauce over the top for extra gooeyness. Dig in and enjoy your rich, creamy, crunchy Butterfinger Cake that everyone will love!
Can I Use a Different Cake Flavor?
Absolutely! While chocolate cake pairs perfectly with the Butterfinger flavors, you can use vanilla or even red velvet cake if you prefer. Just adjust the toppings and fillings to match your chosen flavor.
Can I Make This Cake Gluten-Free?
Yes! Use a gluten-free chocolate cake mix instead of standard cake mix, and ensure all other ingredients are certified gluten-free, such as the caramel sauce and whipped topping.
How Long Will Leftovers Last?
Leftover Butterfinger Cake can be stored in the refrigerator for up to 3-4 days. Make sure it’s covered tightly to keep it fresh and prevent it from drying out!
Can I Freeze This Cake?
You can freeze the Butterfinger Cake, but it’s best to do so before adding the toppings. Wrap the cake tightly in plastic wrap and then foil to prevent freezer burn. When ready to serve, thaw overnight in the fridge and add toppings before enjoying!