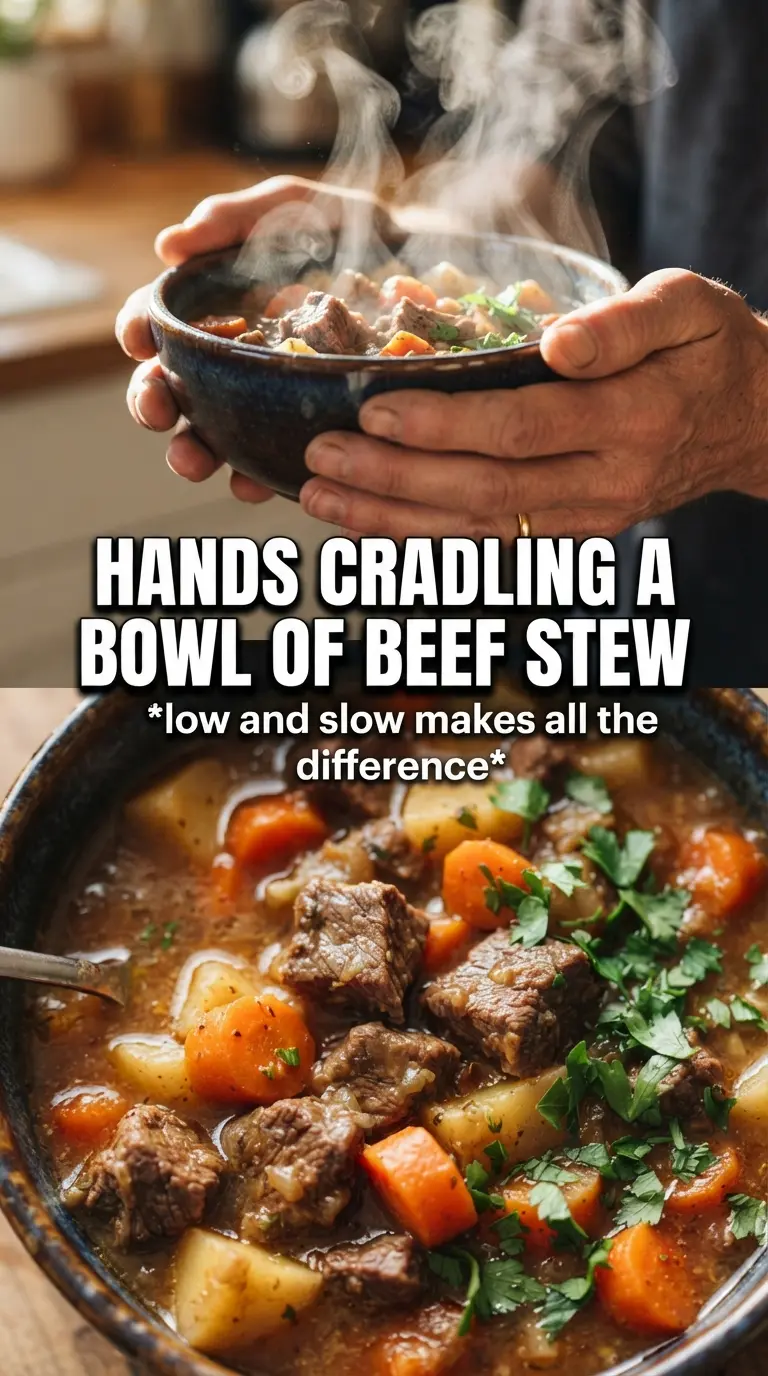
Deep, spoonable beef stew starts with one thing most quick versions skip: a hard sear on the meat. That browned crust gives the broth its dark color and the kind of savory depth you can taste in the first bite. Once the beef has time to simmer with tomatoes, wine, and broth, the chunks turn tender without losing their shape, and the potatoes soak up everything good in the pot.
The trick here is patience in the right places. Dusting the beef with flour helps build body in the broth, but the real difference comes from searing in batches so the pan stays hot enough to brown instead of steam. Tomato paste gets cooked briefly with the vegetables, which takes off the raw edge and gives the finished stew a richer, more rounded base. It’s the kind of recipe that tastes better the longer it sits, but it’s already solid on day one.
Below, I’ve laid out the parts that matter most: how to keep the beef from turning gray in the pot, why the potatoes go in later, and the small finishing step that keeps the peas bright instead of tired.
The broth turned a gorgeous deep brown and the beef was fall-apart tender without shredding into nothing. I also loved that the peas went in at the end and stayed bright.
Save this beef stew for the nights when you want deep, slow-cooked flavor and tender chunks of beef without a lot of fuss at the stove.
The Brown Bits Are Doing the Heavy Lifting
If the beef goes into the pot pale, the stew will taste flat no matter how long it simmers. The flour helps the meat brown and gives the broth some body, but the real flavor comes from letting the cubes sear hard in batches so they develop a dark crust instead of steaming in their own moisture. Crowding the pan is the fastest way to lose that advantage.
The other place people lose flavor is right at the beginning of the simmer. Tomato paste needs a minute or two in the hot pan with the vegetables so it darkens slightly and stops tasting sharp. Once the wine hits the pot, scrape up everything stuck to the bottom; that fond is what carries the stew from basic to deep and savory.
- Beef chuck — This is the cut you want for stew because it has enough connective tissue to turn tender during the long simmer. Lean stew meat can work, but it usually dries out before the broth develops enough body.
- Yukon gold potatoes — They hold their shape better than russets and give you soft edges without collapsing into starch. If you swap in russets, add them a little later and expect a thicker, cloudier broth.
- Red wine — Use a dry wine you’d actually drink. It doesn’t make the stew taste like wine; it deepens the broth and gives the tomatoes something to balance against. If you skip it, replace it with extra broth and a small splash of vinegar at the end.
- Worcestershire — This is one of the fastest ways to add savory depth without making the stew taste like a condiment. There isn’t a perfect stand-in, but a little soy sauce plus a touch of balsamic gets you close in a pinch.
- Frozen peas — They go in at the very end on purpose. Added earlier, they turn dull and soft; added at the end, they stay sweet and give the stew a fresh pop against the rich broth.
What Each Ingredient Is Actually Doing in This Recipe
- Primary ingredient (the star) — Quality matters most. Choose the best you can find.
- Cooking medium (oil, butter, or broth) — This carries flavors and prevents dryness.
- Seasonings (salt, pepper, spices, herbs) — Layer flavors so nothing overpowers. Build depth gradually.
- Aromatics (garlic, onion, herbs) — Cook with fat to bloom flavors. Become the foundation.
- Supporting ingredients — Complement the main ingredient without overpowering it.
- Sauce or liquid (if applicable) — Brings flavors together. Balance richness with acid.
- Acid (lemon, vinegar, wine, or other) — Brightens and prevents flat-tasting results.
- Final finish (garnish, glaze, or sauce) — Prevents one-dimensional taste and adds visual appeal.
Building the Stew in the Right Order
Coating and Searing the Beef
Toss the beef with the flour, salt, and pepper until every piece looks lightly dusted, not caked. Then sear in hot olive oil in batches and leave the meat alone until it releases cleanly from the pan and has a dark brown crust. If the pan looks crowded or the meat starts giving off liquid right away, it’s too packed and you won’t get the color you need.
Softening the Vegetables and Cooking Out the Tomato Paste
Once the beef is out, cook the onion, carrots, and celery in the same pot until the onion starts turning translucent and the vegetables pick up a little color from the drippings. Add the garlic and tomato paste and cook them together for about two minutes. That short cook matters because raw tomato paste tastes tinny and harsh; once it darkens slightly, it blends into the stew instead of sitting on top of it.
Letting the Stew Simmer to Tender
Pour in the wine first and scrape the bottom of the pot until all the browned bits dissolve. Add the broth, tomatoes, Worcestershire, thyme, bay leaves, and beef, then bring everything just to a boil before lowering the heat. A gentle simmer is what turns chuck tender; a hard boil tightens the meat and can make the broth greasy and cloudy.
Adding the Potatoes and Finishing Bright
Wait to add the potatoes until the beef has already had most of its time to soften. That keeps the cubes intact instead of turning them grainy and broken. Stir in the peas only in the last few minutes, then pull the bay leaves and season at the end so the salt lands after the broth has reduced and concentrated.
How to Adapt This Stew Without Losing What Makes It Good
Dairy-Free and Naturally Thickened
This stew already fits a dairy-free table as written. The flour on the beef gives the broth enough body, so you don’t need butter or cream to make it feel rich. If you need it gluten-free too, use a 1:1 gluten-free flour blend for coating the beef, or skip the flour and simmer uncovered a little longer to let the broth reduce.
No Wine, No Problem
Use an extra cup of beef broth in place of the wine, then add 1 to 2 teaspoons of red wine vinegar or balsamic at the end to replace some of the brightness. You won’t get quite the same depth, but the stew will still taste balanced instead of heavy.
Making It Heartier With Mushrooms
Add sliced mushrooms with the onion, carrots, and celery and let them cook until their moisture evaporates and they start to brown. They add extra savoriness and make the stew feel even more substantial, especially if you’re serving it over mashed potatoes or with bread.
Storage and Reheating
- Refrigerator: Store in an airtight container for up to 4 days. The stew thickens as it sits, and the potatoes absorb more broth overnight.
- Freezer: It freezes well for up to 3 months. Cool it completely first, and if you like very clean potato texture, freeze without the potatoes and add fresh-cooked ones when reheating.
- Reheating: Warm it slowly on the stove over medium-low heat with a splash of broth or water if needed. A hard boil can break the potatoes and make the beef stringy, so gentle heat is the way to bring it back.
Answers to the Questions Worth Asking
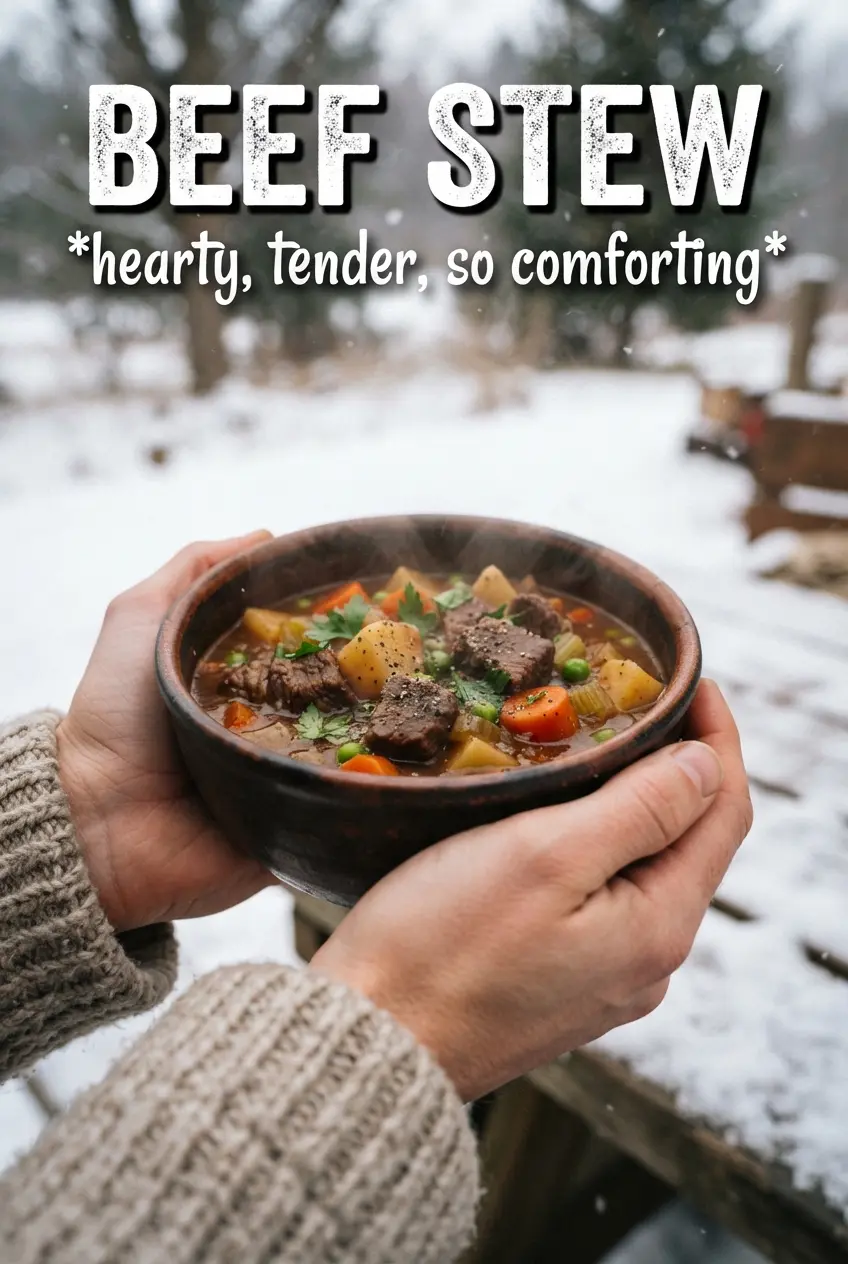
Beef Stew
Ingredients
Equipment
Method
- Season the beef by tossing the beef chuck cubes with the all-purpose flour until coated. Keep it dry and even so it browns instead of steams.
- Heat olive oil in a Dutch oven over high heat, then sear the beef in batches until deeply browned. Aim for 3-5 minutes per batch with a dark mahogany crust, then remove to a plate.
- In the same Dutch oven, sauté onion, carrots, and celery for 5 minutes until slightly softened. Scrape up any browned bits as you stir.
- Add garlic and tomato paste and cook for 2 minutes. Cook just until fragrant and the tomato paste darkens slightly.
- Deglaze with red wine, stirring and scraping the pot so the flavorful fond loosens. Cook for 2-3 minutes until the wine is reduced slightly.
- Add beef broth, diced tomatoes, Worcestershire, dried thyme, bay leaves, and the browned beef. Bring everything together until evenly combined.
- Bring the stew to a boil, then reduce heat, cover, and simmer for 60-75 minutes until the beef is very tender. You should see a steady simmer with gentle bubbling around the edges.
- Add the cubed Yukon gold potatoes and simmer for 20 more minutes. Keep the lid on partially so the stew thickens without boiling hard.
- Add frozen peas and cook for 3 minutes. They should turn bright green and heat through.
- Remove the bay leaves and season with salt and pepper to taste. Let it stand 5 minutes so the broth thickens slightly before serving.