Crackly little waffle cups with a crisp edge and a sweet vanilla center turn into a party dessert the moment they get dipped in bright candy melts and showered with sprinkles. The contrast is the whole point: sturdy enough to hold a scoop of ice cream, but delicate enough to feel playful and special. Once they cool, they stay crisp long enough to serve a crowd without turning soggy in the first few minutes.
The batter is plain on purpose. Eggs give the cups their structure, melted butter keeps the texture rich, and a small amount of milk loosens the batter just enough so it cooks evenly in a thin layer. The key is letting each cup cool fully before dipping; if it’s still warm, the candy coating softens and slides instead of setting with that clean, colorful edge.
Below, I’ll walk through the shaping trick that keeps the waffle cups from collapsing, plus the easiest way to work with multiple colors of candy melts without making a mess of the whole counter.
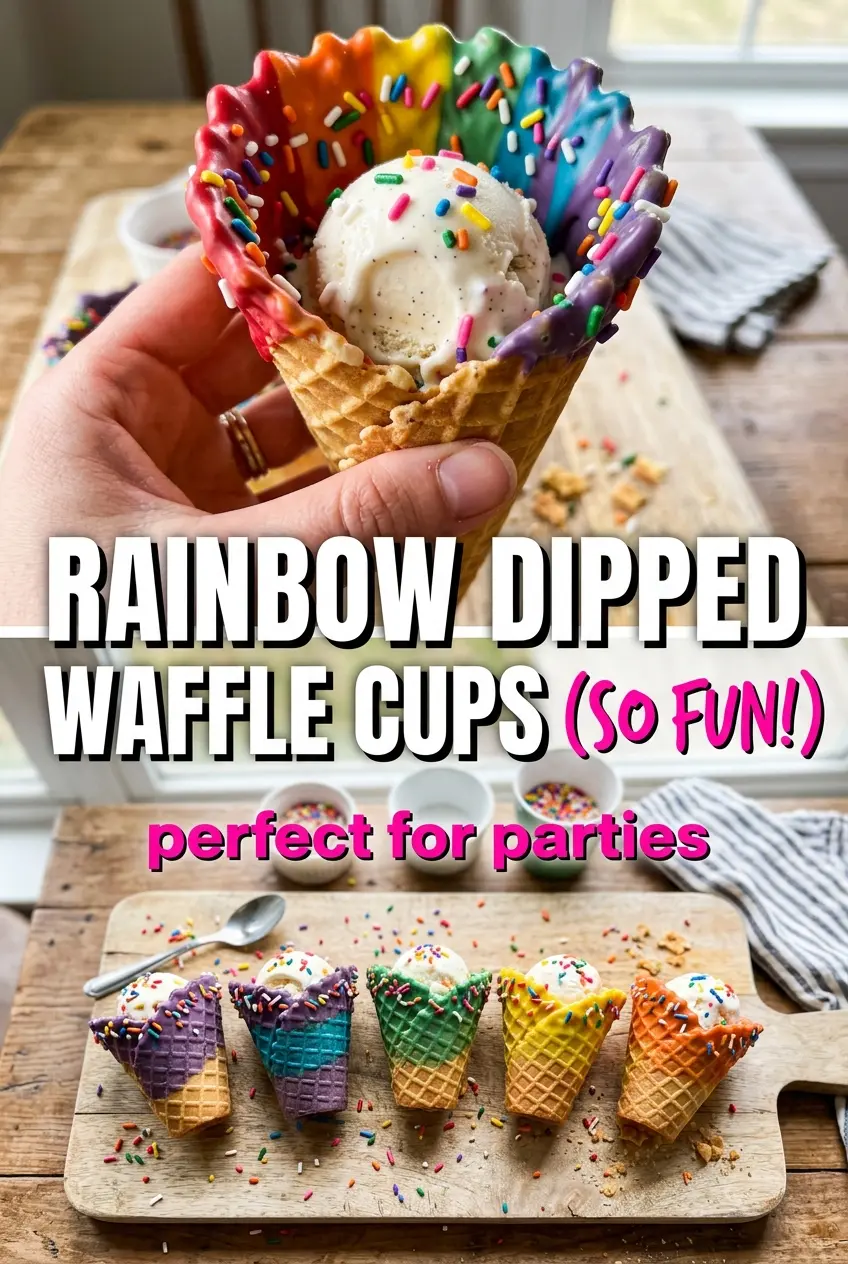
The cups came out crisp and held their shape even after filling them with ice cream. Dipping the rims in the melted candy made them look bakery-level, and the sprinkles stayed put once they dried.
Rainbow Dipped Waffle Cups bring the fun before the first scoop of ice cream even goes in.
The Tiny Timing Window That Keeps Waffle Cups Crisp
The biggest mistake with waffle cups is letting them sit in the maker too long. They should be cooked just until golden, not dark, because the candy melts and sprinkles are only part of the story — the cup itself has to stay light and crisp underneath. If the waffles overbake, they get brittle at the edges and can split when you shape them over the bowl.
The other part that matters is the cooling shape. As soon as the waffle comes off the iron, drape it over an upside-down bowl and leave it alone until it sets. That short rest trains the cup into shape while the center still has enough flexibility to bend without cracking.
- Eggs — They build structure and give the cups enough strength to hold ice cream. Don’t cut them back unless you want a softer, more fragile cup.
- Melted butter — This is what keeps the waffle from tasting dry or cardboard-like. Neutral oil works in a pinch, but you lose that rich, bakery-style finish.
- All-purpose flour — Just enough for a delicate waffle shell. Don’t swap in cake flour here; it can make the cups too tender to hold up once filled.
- Milk — The small amount loosens the batter so it spreads in a thin, even layer. Add it gradually; a batter that’s too thin will run and won’t build enough structure.
- Candy melts — These set firm and shiny, which is why they work better than chocolate for this job. Chocolate can be used, but you’ll need to temper it or it may stay soft and streaky.
- Rainbow sprinkles — They need to go on immediately after dipping so they stick before the coating sets. If you wait, they’ll bounce right off.
Building the Batter and Dipping the Rims Without Losing the Crunch
Mixing the Base
Whisk the eggs and sugar until the mixture looks smooth and slightly thickened, then whisk in the melted butter and vanilla. That order matters because the sugar helps break up the eggs and keeps the batter from feeling greasy. Once the flour and salt go in, stir only until the dry streaks disappear; overmixing gives you a tougher cup.
Cooking Each Cup
Spoon about 2 tablespoons of batter onto the preheated waffle cone maker and close it gently. You’re looking for a deep golden color and edges that release cleanly, usually after 60 to 90 seconds depending on the machine. If the waffles are pale, they’ll be limp; if they go too far, they crack when you shape them.
Shaping While the Waffle Is Still Flexible

The moment the waffle comes off the iron, drape it over an upside-down bowl to form a cup. Work quickly, but don’t force it. If it tears, the maker was probably too hot or the waffle cooked too long, which means the batter lost the little bit of give it needs for shaping.
Dipping and Decorating
Melt each color of candy melts separately so the colors stay clean and bright. Dip just the rim, let the excess drip off for a second, then shower on the sprinkles immediately. If the coating starts to firm before the sprinkles go on, the decoration won’t stick evenly and you’ll lose that festive finish.
Make Them Chocolate Dipped Instead
Use melted chocolate in place of candy melts if you want a deeper cocoa flavor and don’t mind a softer finish. It tastes great, but it won’t set as hard as candy melts unless you temper it, so the rim can smudge a little more easily.
Gluten-Free Version
A measure-for-measure gluten-free flour blend usually works here because the batter is simple and short. Let it rest for 5 minutes before cooking so the flour hydrates, which helps the cups hold together instead of crumbling at the bend.
Birthday Party Color Swap
Pick two or three candy melt colors and match the sprinkles to the event instead of using rainbow sprinkles every time. The technique stays the same, but the finished cups look more polished for showers, birthdays, or team parties.
Storage and Reheating
- Refrigerator: Store unfilled cups in an airtight container for up to 3 days. Humidity is the enemy here, so keep them sealed and away from the fridge door.
- Freezer: I don’t recommend freezing these. The texture turns soggy once thawed, and the candy coating can look dull.
- Reheating: These are best served at room temperature and not reheated. If they’ve softened a bit, leave them uncovered for 10 to 15 minutes so the shells can crisp back up before filling.
Answers to the Questions Worth Asking
Rainbow Dipped Waffle Cups
Ingredients
Equipment
Method
- Preheat a waffle cone maker according to manufacturer instructions, so it’s hot and ready to bake immediately.
- Whisk the large eggs and granulated sugar until smooth, then whisk in the melted unsalted butter and vanilla extract.
- Fold in the all-purpose flour and salt, then stir in the milk until a smooth batter forms.
- Spoon about 2 tablespoons of batter onto the waffle iron and cook for 60–90 seconds, until golden.
- Remove the waffle and drape it over an upside-down bowl to shape into a cup, then let cool.
- Melt each color of assorted colored candy melts separately, so each dip stays vibrant and clean.
- Dip the rim of each cooled waffle cup into a color of your choice.
- Immediately sprinkle rainbow sprinkles on the dipped rim before the coating sets, then let dry for 10 minutes before filling with ice cream.