Red, white, and blue marshmallow bars have that soft, chewy bite that disappears fast from a summer dessert table. The layers stay distinct, the colors look bold when you cut into them, and the white chocolate drizzle gives the top just enough sweetness to make each square taste finished. They’re the kind of no-bake treat that looks like you spent a lot more time on it than you did.
What makes these work is the way each color layer is mixed and pressed separately. The marshmallows go in over low heat so they melt smooth instead of turning stiff, and the cereal gets folded in before the mixture cools enough to seize. Using gel coloring matters here too, because liquid food coloring can thin the marshmallow mixture and blur the layers.
Below, I’ll walk through the layering order, the small trick that keeps the bars from sticking to everything in sight, and a few easy swaps if you want to change the colors or make them ahead for a party.
The layers set up cleanly and the bars sliced so neatly after chilling. I loved that the marshmallow stayed soft instead of hardening, and the white chocolate drizzle made them look party-ready with almost no extra effort.
These patriotic marshmallow bars are the easiest way to bring bold color and chewy texture to a July dessert tray.
The Reason the Layers Stay Clean Instead of Blending Together
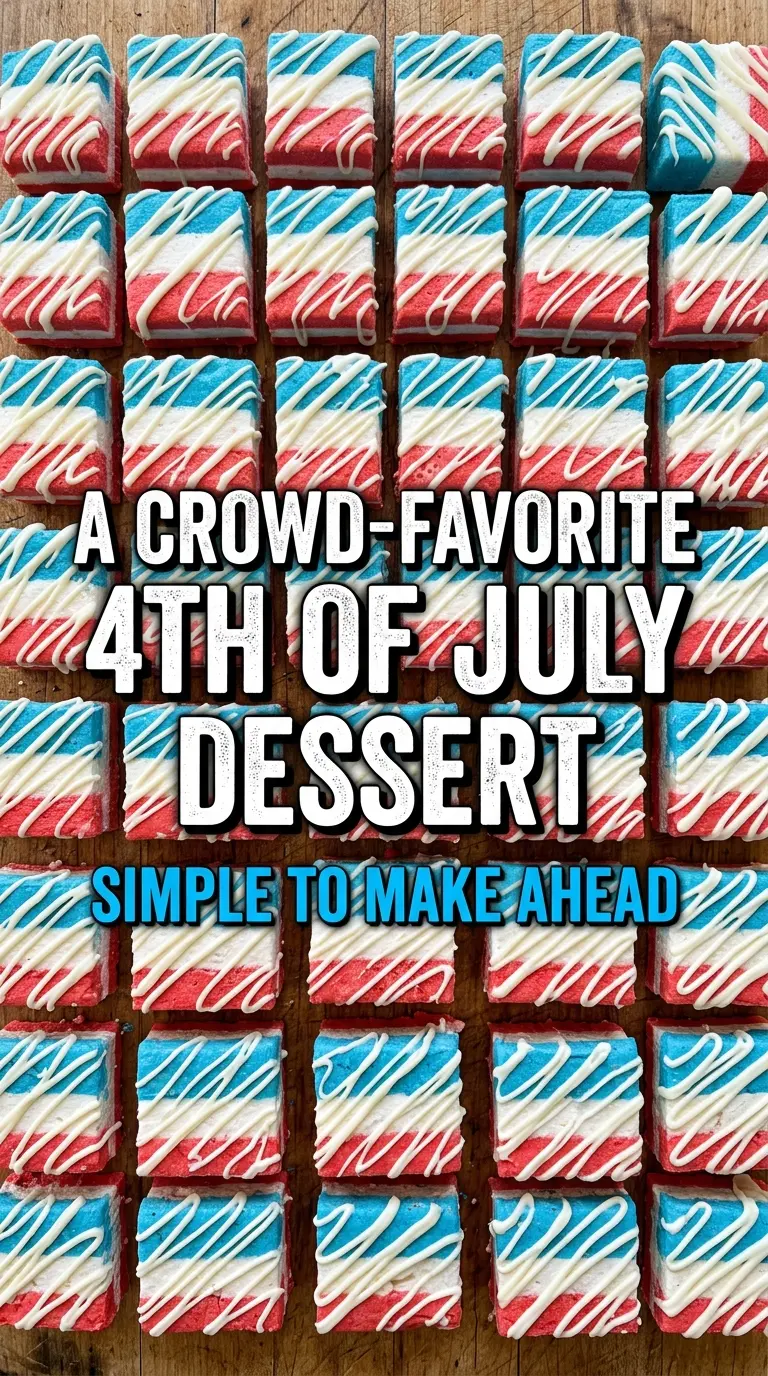
Marshmallow bars can turn muddy if the first layer is too hot or too loose when the next one goes on. The fix is simple: press each layer firmly enough to level it, but don’t smash it so hard that the cereal compacts into a dense brick. You want a flat surface with some give left in the base so the next layer can settle without sinking through.
Temperature matters too. If the marshmallow mixture starts cooling in the pan before the cereal goes in, it gets stringy and hard to spread. Working one batch at a time keeps the texture soft and lets each color hold its shape. That’s the difference between crisp stripes and a pan that looks swirled by accident.
- Mini marshmallows — Mini marshmallows melt faster and more evenly than large ones, which helps you keep the texture smooth over low heat. Fresh marshmallows are best here; older ones can melt into a tougher mass.
- Unsalted butter — Butter keeps the bars rich and helps the mixture release from the pan. Salted butter works in a pinch, but the bars will taste a little less clean and sweet.
- Rice krispie cereal — The cereal needs to stay crisp, so fold it in as soon as the marshmallows are melted. If the marshmallow base sits too long before mixing, the bars turn dense instead of light and chewy.
- Gel food coloring — Gel coloring gives you bold red and blue without thinning the marshmallow mixture. Liquid coloring can throw off the texture and make the layers weep a little as they set.
- White chocolate chips — The drizzle is mostly for finish, but it also adds a little sweetness and helps the top look polished. If you need a substitute, melting wafers work the same way and tend to set a bit more neatly.
Building Each Layer Before It Cools Too Fast
Starting with the Red Base
Melt two tablespoons of butter with one batch of marshmallows over low heat, stirring until the mixture is glossy and mostly smooth. Add the red gel coloring first so you can see how intense the shade is before the cereal goes in. Once the color is even, fold in the cereal and press the mixture into the prepared pan with lightly buttered hands or a greased spatula. If the mixture starts sticking hard to the utensil, it’s cooling too much and needs to go into the pan right away.
Adding the White Middle Layer
Repeat the process with the second batch of butter and marshmallows, but leave this layer plain. Spread it over the red layer while it’s still warm enough to move easily, then press gently to level it. The goal is adhesion, not compression. If you wait until the red layer cools completely, the white layer won’t bond well and the bars can separate when sliced.
Finishing with the Blue Top
For the last batch, tint the melted marshmallow mixture blue before folding in the cereal. Press it over the white layer and smooth the top as evenly as you can, since that’s the surface the drizzle will show off. Melted white chocolate goes on after the bars have set enough to hold their shape, and a zigzag pattern works better than heavy stripes because it keeps the top from feeling overly sweet in one bite.
What to Change When You Want a Different Color or Texture
Dairy-Free Version
Use a plant-based butter that melts cleanly and has a neutral flavor. The bars will still set, though the texture may be a touch softer, so let them chill a little longer before cutting.
Different Holiday Colors
Swap the red and blue gel colors for whatever fits the event. The method stays the same, and using gel coloring keeps the layers bright without watering down the marshmallow mixture.
Extra-Chewy Bars
Use a slightly lighter hand when pressing the layers into the pan so the cereal stays puffed and the bars cut with a softer bite. They’ll look a little less compressed and taste more marshmallow-forward.
Storage and Reheating
- Refrigerator: Store in an airtight container for up to 3 days. The bars stay chewy, but the cereal softens a little over time.
- Freezer: They don’t freeze well. The texture turns brittle after thawing, and the cereal loses its crispness.
- Reheating: No reheating needed. Let chilled bars sit at room temperature for 10 to 15 minutes before serving so they slice cleanly and taste softer.
Answers to the Questions Worth Asking
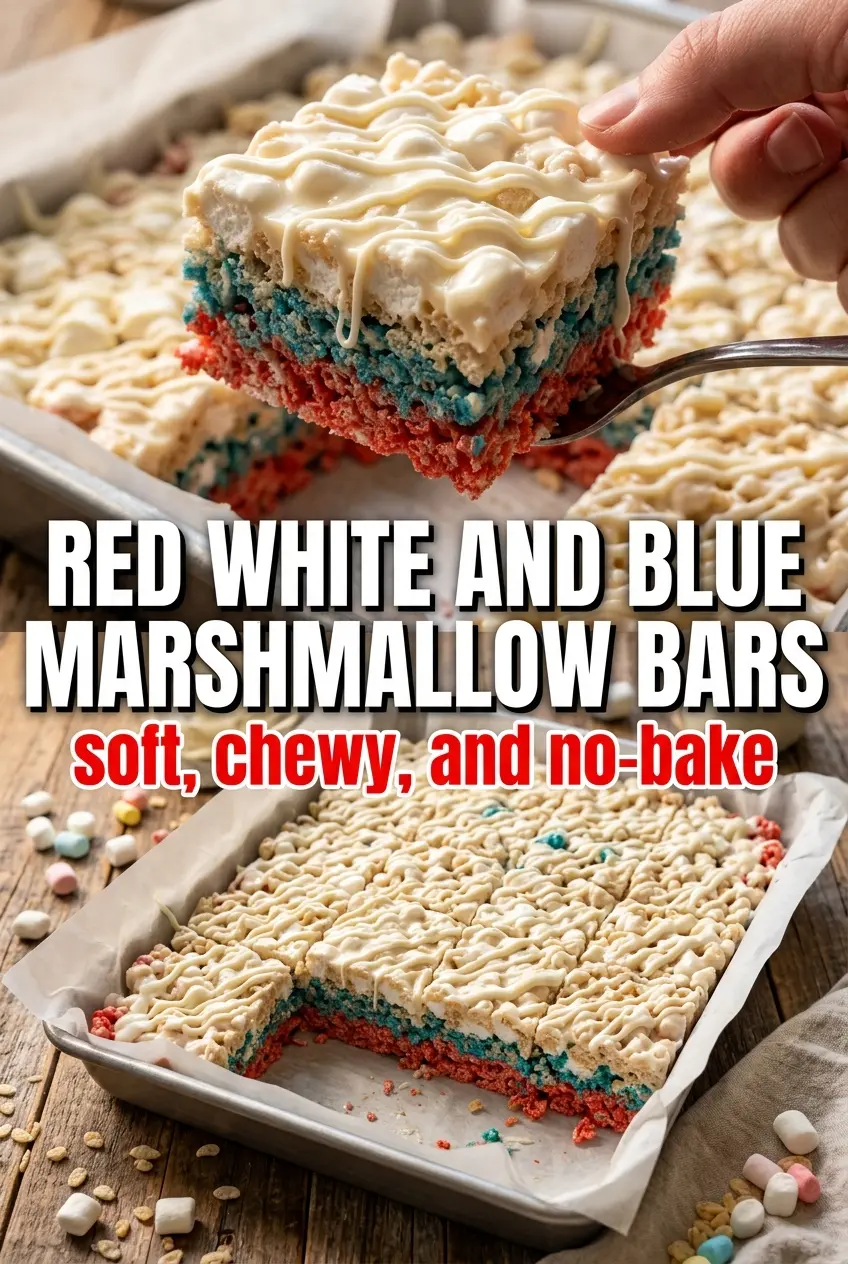
Red, White, and Blue Marshmallow Bars
Ingredients
Equipment
Method
- Grease a 9x13-inch pan and line it with parchment paper so the bars lift out cleanly.
- Melt 2 tablespoons butter with 4 cups mini marshmallows over low heat for 3-4 minutes until smooth, then tint with red gel food coloring.
- Fold in 4 cups rice krispie cereal and press the mixture into the bottom of the prepared pan to form an even layer.
- Melt another 2 tablespoons butter with 4 cups mini marshmallows over low heat for 3-4 minutes until smooth (leave untinted).
- Fold in 4 cups rice krispie cereal and press the white layer evenly over the red layer.
- Melt the remaining 2 tablespoons butter with the final 4 cups mini marshmallows over low heat for 3-4 minutes until smooth, then tint with blue gel food coloring.
- Fold in the remaining 4 cups rice krispie cereal and press the blue layer evenly over the white layer.
- Drizzle the melted white chocolate over the top in a zigzag pattern.
- Let the bars set for at least 30 minutes before slicing into squares so the layers hold.