Red, white, and blue Rice Krispie treats bring the kind of striped, gooey bars that disappear fast from a dessert table. The layers hold their color cleanly, the marshmallow stays soft instead of turning hard and brittle, and every square cuts with those sharp, festive edges that look like you worked harder than you did.
The trick is keeping each batch separate and working over low heat so the marshmallow melts smoothly without seizing up. Gel food coloring does the heavy lifting here because it gives you strong color without thinning the mixture, which keeps the layers chewy and sturdy. Pressing each layer in firmly matters too, since loose layers slide around when you slice the bars.
Below, I’ve included the detail that matters most for clean layers, plus a few smart swaps and storage notes so these bars still turn out well if you’re making them ahead for a crowd.
The layers stayed separate when I cut them, and the marshmallow was still soft the next day. I used gel coloring like you said, and the red and blue came out bright without making the bars sticky.
These red, white, and blue Rice Krispie treats are the fastest way to get a festive dessert on the table with crisp layers and gooey marshmallow in every bite.
The Marshmallow Needs Low Heat, Not Patience
Most Rice Krispie treats go wrong before the cereal ever goes in. The marshmallow gets cooked over heat that’s too high, which makes it tacky, stiff, or grainy instead of glossy and smooth. Once that happens, the cereal doesn’t coat evenly and the bars can turn hard after they cool.
Working in three separate batches is what gives these bars their clean stripes. If you try to tint the whole pot at once, the layers blur together and the colors muddy. Low heat keeps the marshmallow supple long enough to stir in the cereal and press it into the pan without tearing or clumping.
What Each Ingredient Is Actually Doing in This Dish
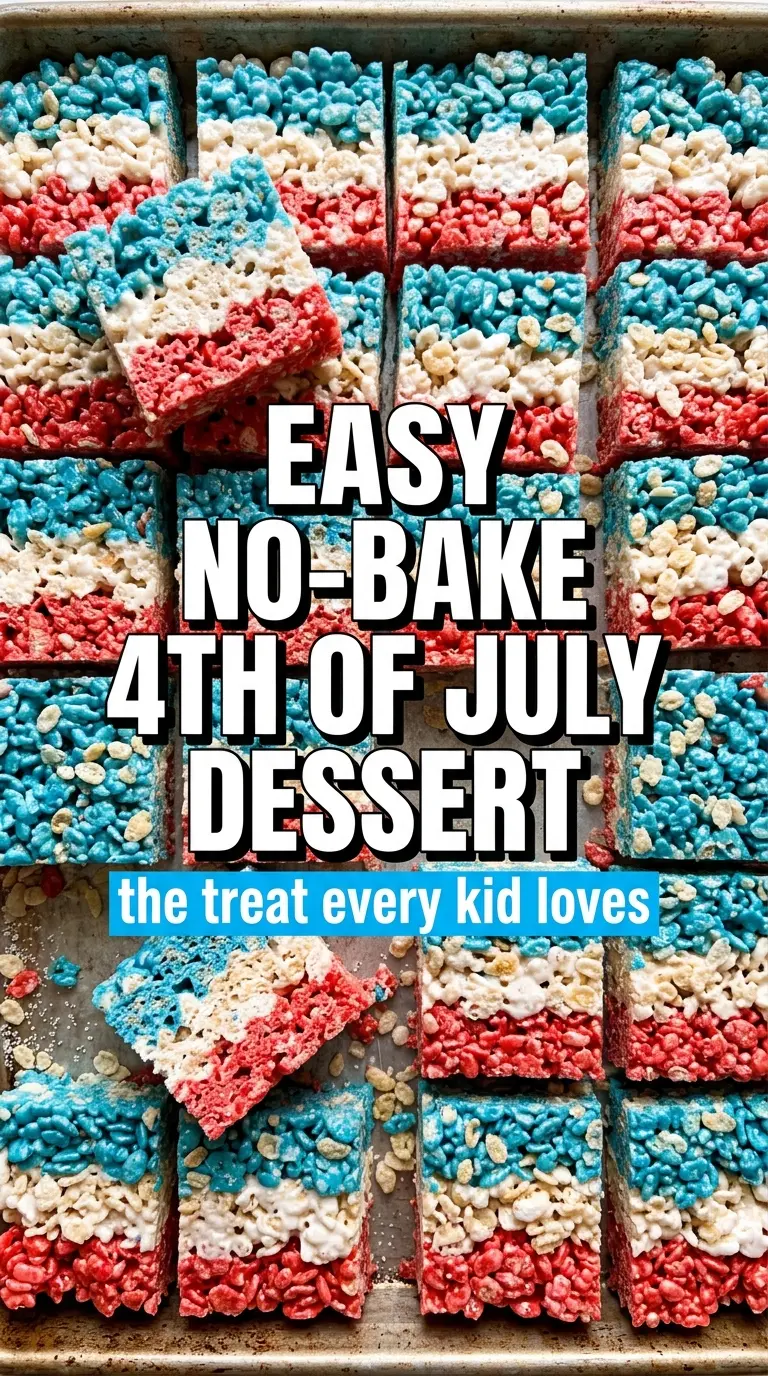
- Rice Krispie cereal — The cereal gives these bars their light crunch and structure. Generic crisped rice cereal works, but stale cereal makes dense treats, so use a fresh box if you want the layers to stay airy.
- Mini marshmallows — Mini marshmallows melt faster and more evenly than large ones, which matters when you’re working quickly in three batches. You can use full-size marshmallows in a pinch, but they take longer to melt and are easier to overcook.
- Unsalted butter — Butter keeps the mixture soft and adds that classic rich flavor. Unsalted is best here because salted butter can make the sweetness taste flatter, though it won’t break the recipe if that’s what you have.
- Gel food coloring — Gel coloring gives strong red and blue without adding extra liquid. Liquid food coloring can work, but you’ll need more of it and the marshmallow mixture can loosen, which makes the bars stickier and harder to layer.
Building the Layers Before They Set
Prep the Pan First
Grease the 9×13-inch pan and line it with parchment so the bars lift out cleanly later. This matters because you’ll be pressing warm marshmallow into the pan three separate times, and the parchment gives you a way to remove the slab without prying at the edges. Leave a little overhang on two sides if you want an easy lift.
Cook One Color at a Time
Melt 2 tablespoons butter with one batch of marshmallows over low heat, stirring until the mixture turns smooth and glossy. Tint it with red gel coloring, then stir in 4 cups of cereal until every piece is coated. If the heat is too high, the marshmallow turns thick before the cereal is mixed in, and you’ll get dry spots instead of a cohesive layer.
Press Each Layer Firmly
Spread the red mixture into the pan and press it down in an even layer. A lightly buttered spatula or a piece of parchment between your hand and the treats keeps the mixture from sticking while you compress it. Repeat with the white and blue batches, and work fast enough that the previous layer is still a little warm when the next one goes on, which helps the stripes hold together.
Let the Bars Set Before Cutting
Give the pan at least 30 minutes to cool before slicing. If you cut too early, the layers drag and the edges smear. A sharp knife wiped clean between cuts gives you the cleanest stripes, especially if you want the colors to show clearly on the cut sides.
How to Adapt These Bars for Different Crowds
Gluten-Free Version
Use a certified gluten-free crisp rice cereal. The marshmallow mixture stays the same, but the label matters here because some rice cereals are processed with malt flavoring or shared equipment. The texture stays identical when the cereal is truly crisp and fresh.
Dairy-Free Swap
Use a plant-based butter that melts cleanly and has a neutral flavor. The bars will still hold together, though the flavor is a little less rich than with real butter. Skip coconut oil here unless you don’t mind a coconut note in the finished treats.
Extra-Soft Treats
If you like a softer bar, reserve a handful of cereal from each batch and use a little less than the full 4 cups. The layers will be more tender and less crunchy, but they’ll also be more delicate when you slice them. This works well for younger kids who prefer a chewier bite.
Storage and Reheating
- Refrigerator: Store in an airtight container at room temperature for up to 3 days. The bars firm up in the fridge and can lose some of that soft chew.
- Freezer: These freeze well for up to 1 month if you wrap the bars tightly and separate layers with parchment. Thaw at room temperature in the wrapper so condensation doesn’t make the tops sticky.
- Reheating: No reheating needed. If the bars feel a little firm after chilling, let them sit out for 15 to 20 minutes before serving rather than warming them, which can melt the marshmallow and blur the layers.
Answers to the Questions Worth Asking
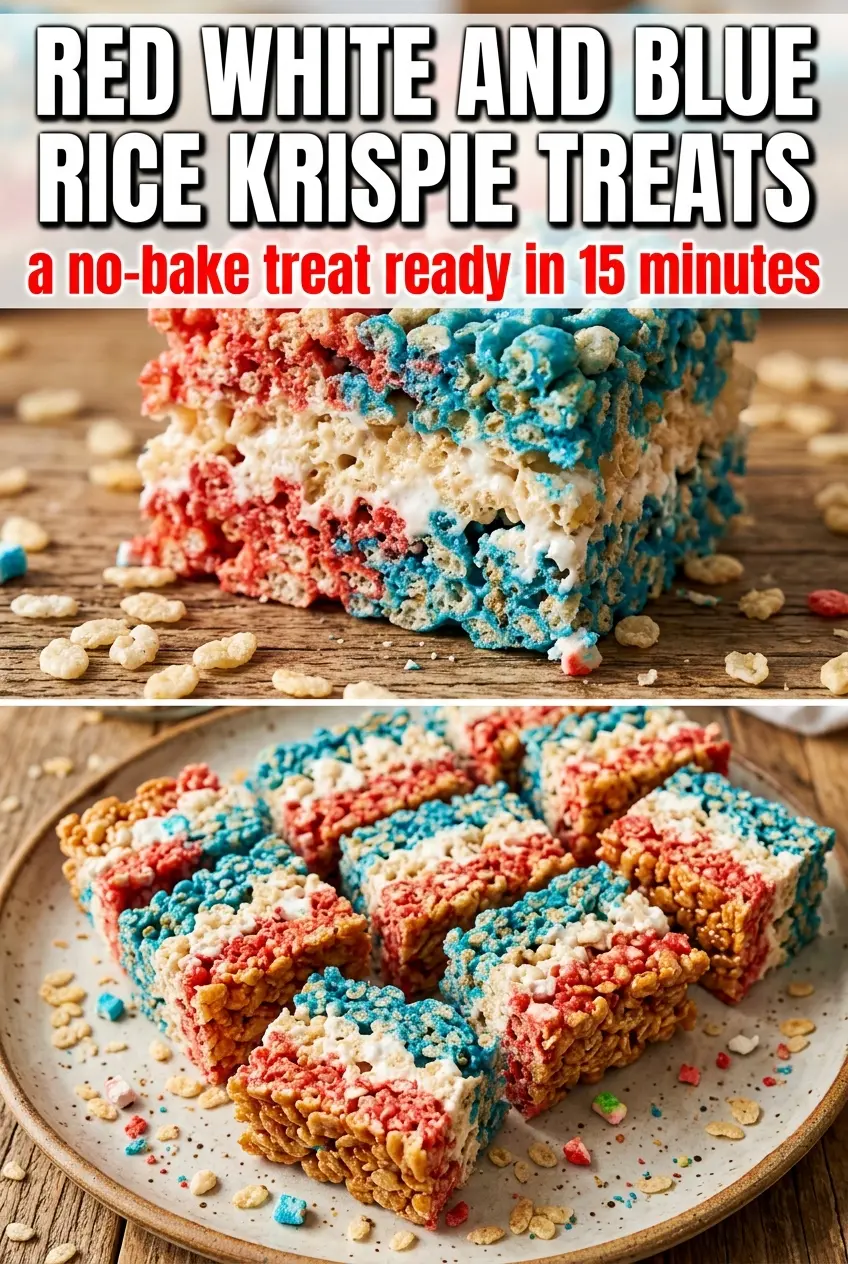
Red, White, and Blue Rice Krispie Treats
Ingredients
Equipment
Method
- Grease a 9x13-inch pan and line it with parchment paper, leaving some overhang for easy lifting later. Visual cue: the surface should look lightly coated, not wet or greasy.
- In a saucepan over low heat, melt 2 tablespoons butter with one bag of marshmallows, stirring constantly until completely smooth, about 3-5 minutes. Visual cue: the mixture turns glossy and no dry marshmallow bits remain.
- Tint the melted marshmallow mixture red with gel food coloring, stirring until the color is uniform. Visual cue: streaks disappear and the red looks even throughout.
- Stir in 4 cups of cereal until evenly coated, then press it firmly into the bottom of the prepared pan. Visual cue: the surface looks compact with minimal loose cereal visible.
- Repeat the melting process with the second batch: melt 2 tablespoons butter with one bag of marshmallows over low heat, stirring until smooth, about 3-5 minutes. Visual cue: mixture becomes glossy and uniform again.
- Stir in 4 cups of cereal until coated, then press it over the red layer to form the middle layer. Visual cue: the red layer shows through only at the edges, not as a thick gap.
- Repeat once more with the final batch: melt 2 tablespoons butter with one bag of marshmallows over low heat, stirring until smooth, about 3-5 minutes. Visual cue: no lumps remain when you swipe the spatula through.
- Tint the mixture blue with gel food coloring, stirring until the color is consistent. Visual cue: the blue looks solid with no faint white streaks.
- Stir in the remaining 4 cups of cereal until evenly coated, then press it over the white layer to form the top. Visual cue: the top layer is tightly packed and level.
- Let the treats cool for at least 30 minutes before slicing into bars. Visual cue: the top looks set and the bars hold their shape when gently pressed.