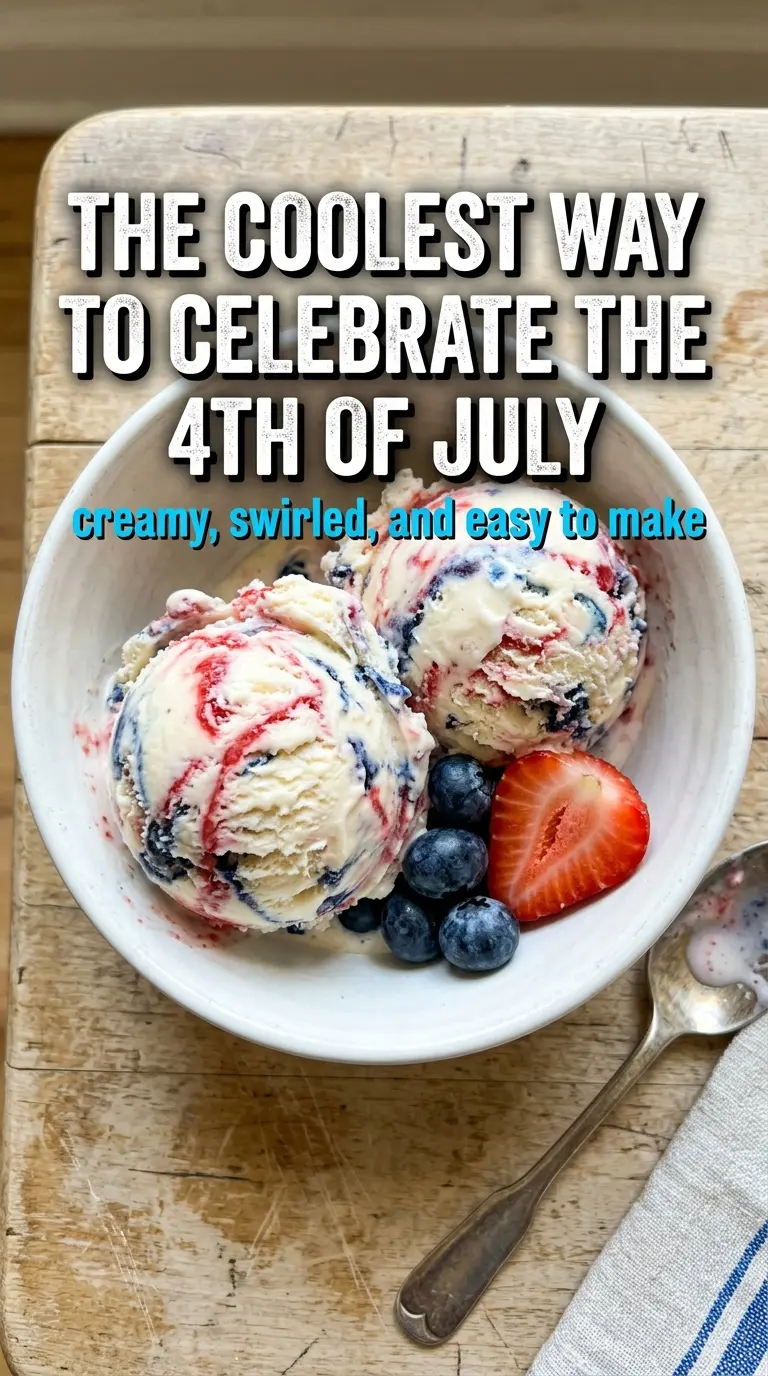
Swirls of strawberry and blueberry running through a cloud of vanilla ice cream give this dessert its best kind of drama. The base stays creamy and scoopable without an ice cream maker, and the berry ribbons keep each spoonful a little different from the last. It looks festive in the pan, but the real win is how cleanly it scoops after a proper freeze.
The trick here is keeping the vanilla base light while the berry purees stay distinct. Whipping the cream to stiff peaks gives the ice cream its body, and folding in the condensed milk by hand keeps that air in place. The purees go in at the very end, and only a few swirls are enough; if you overmix, you lose the marbled look and end up with a pinkish-blue blur instead of crisp red, white, and blue ribbons.
Below, I’ve included the small details that matter most, from getting the swirl pattern right to storing the ice cream so it stays easy to scoop after freezing.
The berry swirls stayed bright after freezing, and the texture was creamy enough to scoop straight from the loaf pan after about 10 minutes on the counter. My kids kept asking for the red, white, and blue slices because it looked like something from a bakery.
Save this red, white, and blue marble ice cream for a no-churn dessert with bright berry ribbons and a creamy vanilla finish.
The Freeze That Keeps the Swirl Sharp Instead of Muddy
No-churn ice cream can go wrong in two places: the base gets deflated, or the fruit gets stirred in so much that the colors disappear. This recipe avoids both by using whipped cream as the structure and condensed milk as the sweet, smooth binder. Once those two are combined, the mixture should look airy but thick enough to hold soft peaks in the pan.
The berry purees need to stay concentrated. Thin fruit sauce leaks into the base and makes the ice cream icier, while a puree with some body leaves defined streaks that hold after freezing. A few knife swirls are enough to move the color through the top layer and create the marbled look without blending the whole thing into one shade.
What Each Ingredient Is Actually Doing in This Marble Ice Cream
- Heavy whipping cream — This is the structure of the ice cream. Whip it to stiff peaks and it holds the air that keeps the dessert light instead of dense and icy. Lower-fat cream won’t whip with the same stability.
- Sweetened condensed milk — This brings sweetness and that smooth, scoopable texture no-churn ice cream depends on. It also keeps the base from freezing hard like a block of sweet cream.
- Vanilla extract — Vanilla gives the base its clean, classic flavor and keeps the berry swirls from tasting one-note. Use pure vanilla if you have it; imitation works in a pinch, but the flavor is flatter.
- Strawberry puree — The puree should be thick enough to sit on top of the base for a moment before swirling. If yours is watery, cook it down briefly so it doesn’t sink and streak the whole pan pink.
- Blueberry puree — Blueberry gives you that deep color contrast that makes the dessert look festive. Blend it smooth, then strain it if the skins are too chunky for the texture you want.
How to Build the Base Without Losing the Air
Whip the Cream Until It Holds Its Shape
Start with cold cream and whip it until the beaters leave firm trails that stand up when lifted. Soft peaks collapse too easily once the condensed milk goes in, and you’ll end up with a looser, icier freeze. Stop as soon as it reaches stiff peaks; overwhipped cream turns grainy and doesn’t fold as smoothly.
Fold, Don’t Stir, the Condensed Milk
Add the condensed milk and vanilla in a few additions and fold gently with a spatula. The goal is a smooth, unified base that still looks airy. If you beat it at this stage, the mixture loosens and loses the body that makes no-churn ice cream creamy.
Swirl the Fruit at the Surface
Spread the base into the pan first, then spoon or drizzle the purees over the top. Run a knife through in wide figure-eight motions just enough to create ribbons. If you keep going until the colors fully mix, the whole dessert turns grayish purple and the marble effect disappears.
Freeze Until Firm, Then Give It a Short Rest
Cover the pan and freeze it for at least 6 hours, though overnight gives the cleanest scoop. If it seems rock hard straight from the freezer, let it sit on the counter for 5 to 10 minutes before serving. That short rest softens the edges without melting the swirl pattern.
Three Ways to Adjust the Swirl Without Losing the Look
Dairy-Free Version With Coconut Cream
Use full-fat coconut cream in place of the heavy whipping cream and a dairy-free sweetened condensed milk alternative. The texture will be a little softer and you’ll pick up a light coconut note, but the marble effect still works well if the fruit purees are thick.
More Pronounced Berry Flavor
Cook the strawberry and blueberry purees down for a few minutes before using them. That concentrates the fruit flavor and reduces extra water, which helps the swirls stay bold instead of bleeding into the base.
Low-Sugar Adjustment
You can use a reduced-sugar berry puree, but don’t swap out the condensed milk for a low-fat version and expect the same texture. The condensed milk is doing the heavy lifting for both sweetness and scoopability, and reducing it too far makes the ice cream freeze harder.
Storage and Reheating
- Refrigerator: This dessert doesn’t store in the fridge; it softens too much and loses its structure.
- Freezer: Keep it covered in the loaf pan or transfer slices to an airtight container for up to 2 weeks. After that, ice crystals start to show up around the edges.
- Reheating: Let it sit at room temperature for 5 to 10 minutes before scooping. Microwaving will melt the swirl and ruin the texture, so patience is the better tool here.
Answers to the Questions Worth Asking
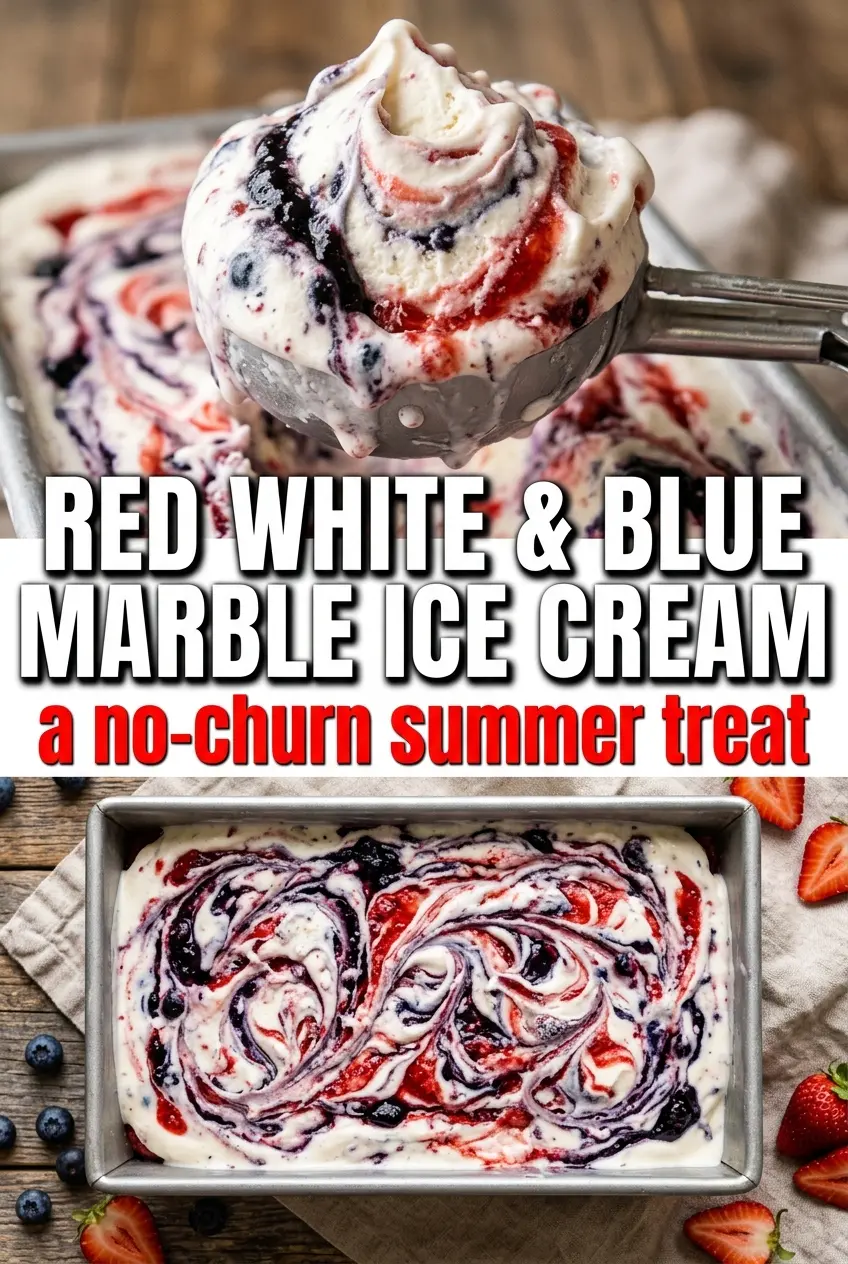
Red White & Blue Marble Ice Cream
Ingredients
Equipment
Method
- Beat the heavy whipping cream to stiff peaks, about 3–4 minutes. Stop when the mixture holds firm peaks with a glossy surface.
- Gently fold in the sweetened condensed milk and vanilla extract until fully combined and smooth. Mix slowly with a light hand so the air you whipped stays in.
- Pour the mixture into a loaf pan and spread it evenly. Aim for a flat top so the ribbons swirl cleanly.
- Drizzle the strawberry puree over one half and the blueberry puree over the other half. Keep the drizzle visible rather than fully blending it in.
- Use a knife to swirl the purees through the base in a marbled pattern—just a few swirls. Overmixing will blend the colors, so stop once the ribbon look forms.
- Cover and freeze for at least 6 hours, or until firm, before scooping. The finished ice cream should scoop with distinct swirls and no liquid center.